Whether it's the holiday lights, glowing jack-o-lanterns or a Thanksgiving gathering, there are bound to be a lot of holiday photo opps in your future. We spoke with Nikon's Alex Podstawski to find out how to make the most of them.
General photo taking tips
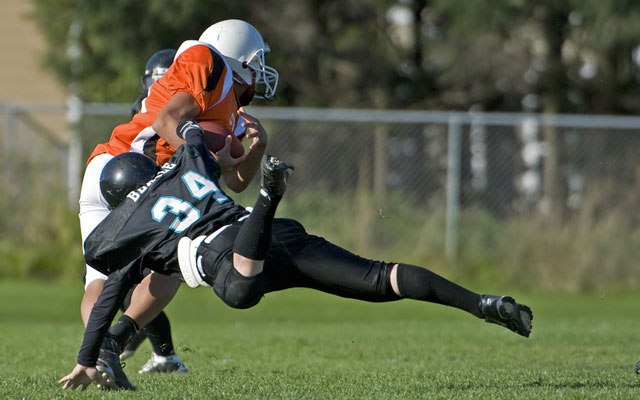
Use Burst Mode to ensure you get the shot. Burst Mode enables you to take multiple shots with one press of the shutter button. Start shooting when you anticipate the action and keep going.
Use Sports mode to stop action. Sports Mode is designed to help you capture a moving object. The color will be more vibrant than if you shoot in other modes and bring the action to life, though, that it’s not as good a capturing true-to-life skin tones.
Low-Light Photo Taking Tips
Raise the ISO Level. Raising the ISO setting makes your camera sensor more sensitive to light. The more sensitive it is, the faster the camera can take a photo, which will reduce the amount of blur caused by camera shake. One caveat: If you push the ISO number up too high, you'll start seeing noise, those grainy-looking imperfections you see most easily in solid-colored areas. So you'll want to take a few shots to see which setting gives you the best balance between reducing blur without too much noise.
Use HDR mode for composed shots. Many cameras have a shooting mode called HDR, for high dynamic range. Basically, in this mode, your camera takes two or more shots at different exposures and then combines them so both the light and dark areas of your shot are properly exposed. If there's any movement, though, the shot will be blurry.
Use a tripod. One reason why so many low-light shots don't come out well is that it's really hard to hold a camera or phone still long enough to take a crisp-looking picture. Using a tripod takes the shake factor out of the equation. Also, try using the camera's self-timer mode to avoid the movement that inevitably occurs when you press the shutter button.
Use a fast lens. A fast lens will let more light through so you can take your pictures faster, reducing the potential for blur. You can tell how fast a lens is by looking at the maximum aperture (the shutter behind the lens), which is called the “f-stop” and notated as “f/X.X”. The lower the number, the wider the aperture and the more light the lens will let in. A good camera choice will come in at f/2.8 or lower.
Tips for taking better holiday portraits

Use Portrait Mode for pictures that focus on people. You’ll find you’re able to capture better skin tones and usually there’s a shorter depth of field so the background is slightly blurred to put emphasis on the person.
Use a telephoto lens or change your aperture setting to highlight your subject. If you have an interchangeable lens camera, use a telephoto lens to isolate the subject. The lens’s shorter depth of field will blur the background a bit, making the person or pet pop in the image. You can also lower your f-stop to increase the camera’s aperture, giving a similar effect.
Use a flash on sunny days (yes, really!). Faces often look dark in bright scenes because the camera adjusts it exposure to the brightness around your subject. You can have your subject face into the sun for more light, but then you’ll wonder why everyone is always squinting in your photos. Instead, have them face away from the sun and use the flash to brighten their faces without the squint.
Use a diffuse light source to reduce harsh shadows. Unless you’re going for a dramatic black-and-white character shot, it’s usually best to find a diffuse light source to soften the shadows. Blinds or sheer curtains are particularly good at creating a diffuse light source to eliminate harsh shadows, so sit your subject near a window with the blinds closed for better lighting.
Get down to eye level when shooting kids and pets. When shooting kids and pets, get down to their level for a more natural photo with better scale.
Tips for taking holiday scenes
Use a wide-angle lens to get the whole scene. Capturing the entire holiday crowd can be a challenge, especially if you’re in a small space. And you wouldn’t want Aunt Edna to be left out of the shot. A wide-angle lens will, as its name suggest, capture a wider angle, letting you get the entire extended family into your photo. This lens field of view is referenced as a “35mm equivalent focal length”, where smaller numbers mean a wider angle. For true wide-angle shots, look for 28mm or below. One important additional benefit of wide-angle lenses is that they have the largest depth of field (unlike telephoto lenses, which have a short depth of field), so they keep more of the scene in focus from near to far and the kids in the front row will be just as in-focus as the parents behind them.
Use candles and lights for an interesting background. Out-of-focus lights, whether they’re tree lights or candles can make an interesting background. Make sure you use a low f-stop (e.g., f/2.8, f/1.4) or telephoto zoom to make your background blur.
Use Night Portrait Mode to capture a person and the background scene at night. If you want to capture a person with holiday lights behind them, you’ll need to expose for both the person and the background. The Night Portrait Mode is specifically designed to perform this task using both the flash and a slow shutter speed to pull in more details from the scene.
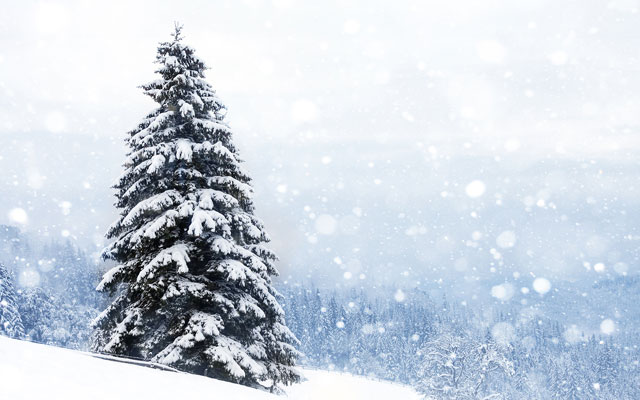
Use Exposure Compensation to make your snow whiter and your skies blacker. To make snow look whiter, use positive compensation to increase exposure, i.e. overexpose the image. For nighttime scenes, underexpose the image for inky black skies. Look for the exposure compensation option on your camera. It’s usually a +/- button or icon.
Cool Halloween Trick shots
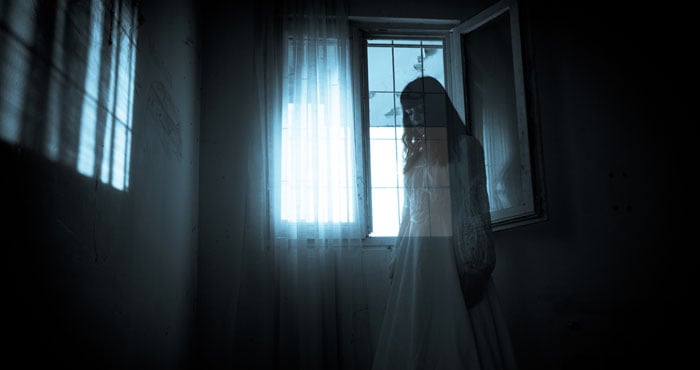
Create ghosts in your photos with multiple exposure mode. You can create ghosts in your photos by using the multiple exposure mode in your camera. Take a shot of a scene and then another shot with a person. The multiple exposure setting will combine the two shots, making the shot with the person somewhat transparent, or ghostly. The key here is using a tripod so the background remains exactly the same in each of the two shots.
Add ghostly writing to a scene. You can add ghost writing by using a long exposure, ideally 30 seconds. You’ll need a tripod to keep your camera steady, a light source (flashlight or glow stick), and black gloves (to hold the light source). Once you’ve started the exposure, draw shapes or words with the light source. With your hands in the black gloves, they won’t be visible in the final shot. If you’re writing words, they’ll show up backwards in the image, but that’s easier to fix by flipping the image afterward than teaching yourself how to write backwards.
Create spooky silhouettes. Another good reason to call dusk “the witching hour” is that it’s the perfect time to capture spooky silhouettes. Find a spot with a clear line of sight to the western sky and have your subject stand in front of you with the bright sky behind them, turn off your camera’s flash and use the 20 minutes before the sun fully sets for a perfect Halloween backdrop.
[Image credits: woman taking photo, youth football, holiday portrait and snow-covered tree via BigStockPhoto, ghost girl via Shutterstock