| + Pros | – Cons |
|
|
Yes, the All-Day Clear are FDA certified as self-fitting OTC hearing aids, which implies they include a full hearing test to optimize and customize the buds to your particular hearing deficiencies. However, the app's hearing test resembles a sound preference questionnaire more than a diagnostic tool. That means you must opt to pay an additional $250 for an In-Clinic Care Package, a physical visit to one of the company’s 500-plus authorized HCPs in the U.S., for a hearing test and bud tuning to get the best-customized improvement and performance.
With only about 500 authorized Sennheiser HCPs nationwide, many potential buyers will find them inaccessible. I live in Manhattan, for instance, and there is only ONE authorized HCP in New York City – in Queens. I did searches on the Sennheiser In-Clinic Package site in other major metro areas and found a similar dearth of Sennheiser-authorized HCPs; there is only one in Chicago, only one in LA, and one in San Jose, only two in Miami, none in Houston, and none in Phoenix (but six in Scottsdale).
Without this extra audiologist visit, you are left with just Sennheiser’s inadequate app-based hearing test, which consists of just three questions that set preferred volume, clarity, and left-right balance levels. Without the optional HCP visit, the All-Day Clear delivers excellent hearing improvement but at a far higher price than other, more customized, self-fitting models.
All of which is unfortunate. Styled as old-fashioned behind-the-ear RIC (receiver in canal) aids, the All-Day Clear(All-Day Clear) provide plenty of loud, clear, and customizable volume, tone controls, better-than-expected Bluetooth music listening, long battery life, and a minimal amount of feedback squeaking or squealing, even though I didn’t have my review sample tuned by an audiologist.
Ergonomics
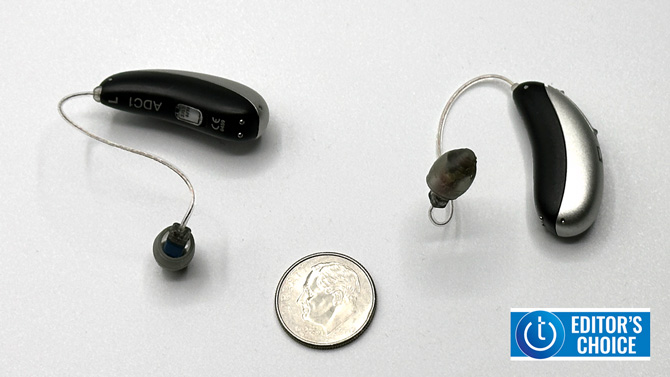
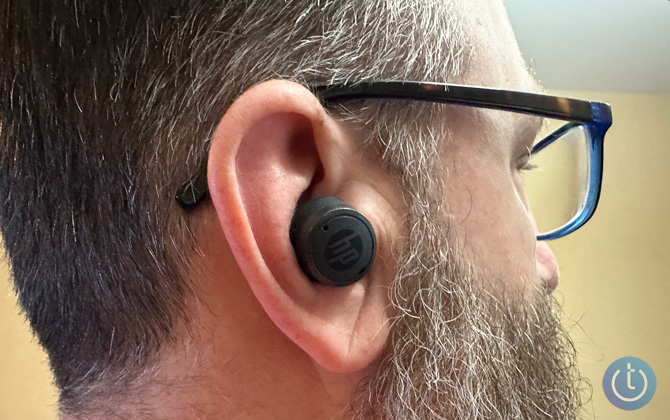
Sennheiser sells two All-Day Clear models: regular and Slim; I tested the regular model. The feature set is the same between the two styles, but the Slim model is notably sleeker, potentially offering more comfort for individuals who wear glasses and featuring a more traditional canal-sealing Bluetooth earbud-style earpiece with a more optimally-placed microphone.
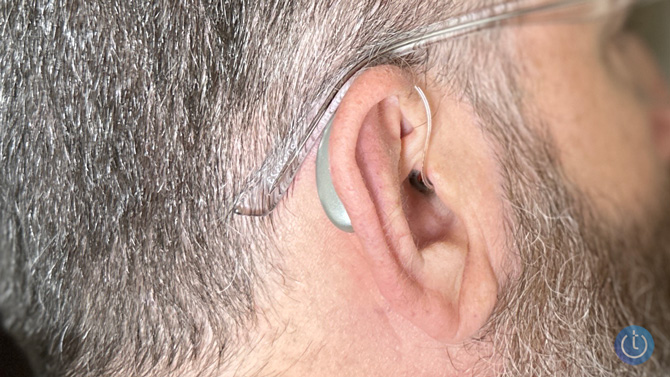
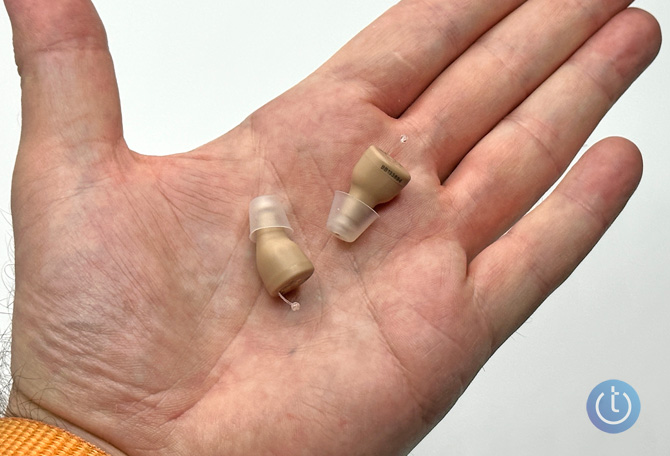
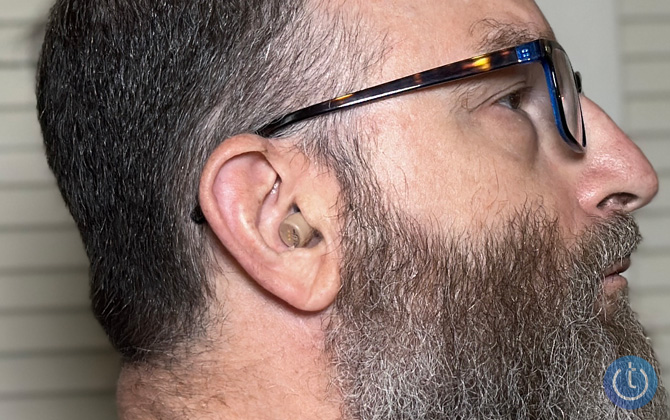
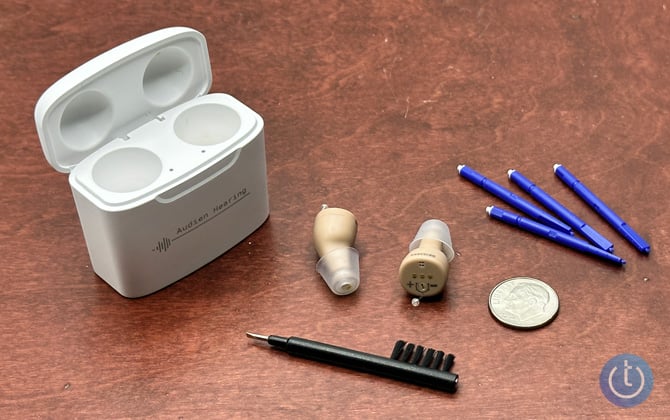
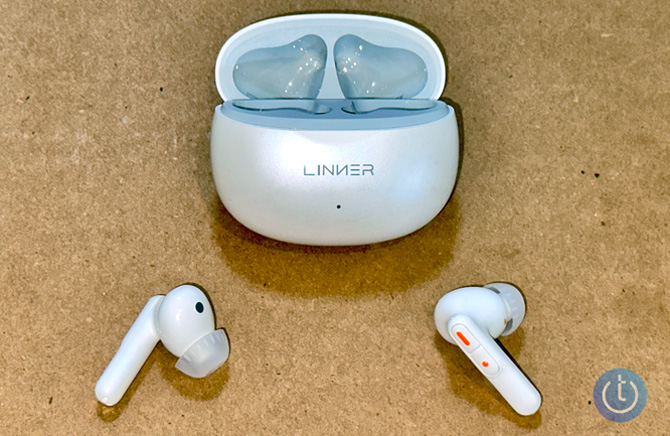
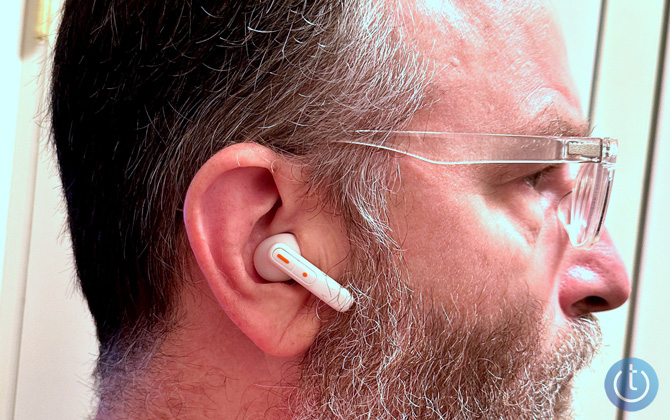
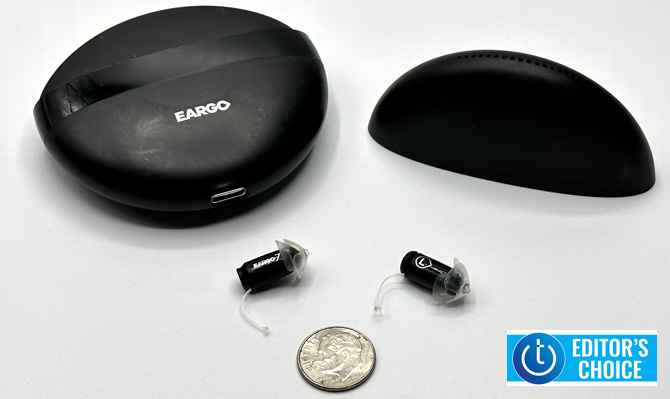
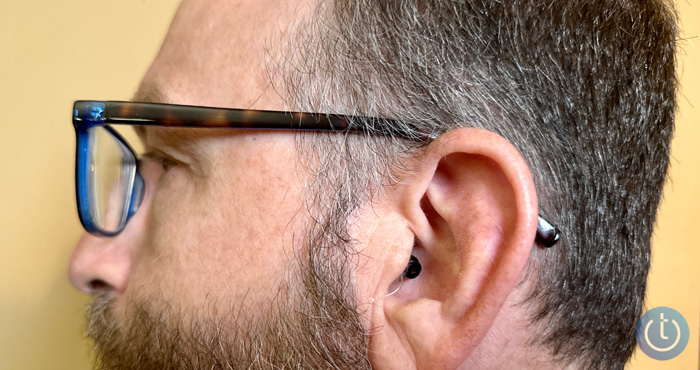
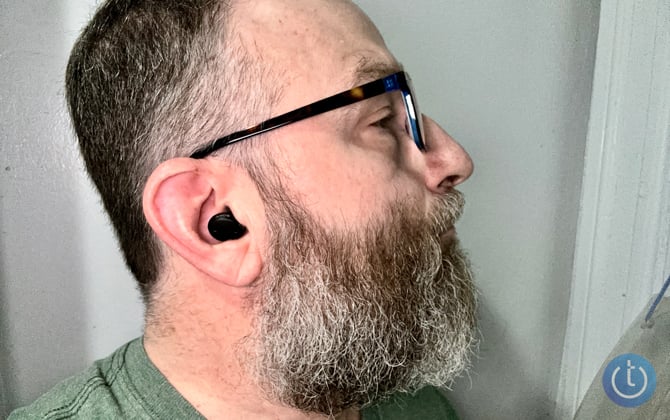
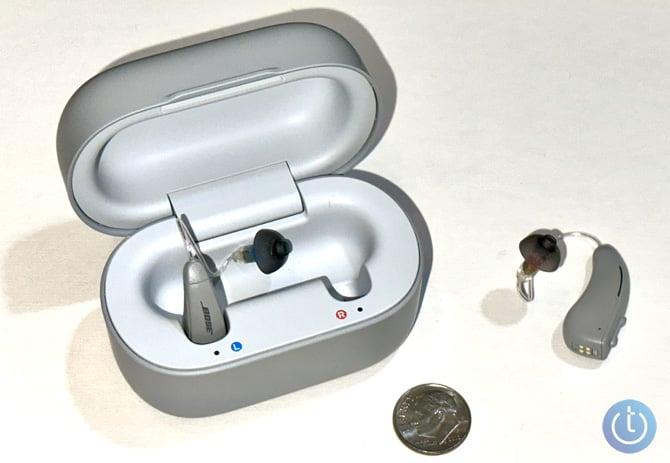
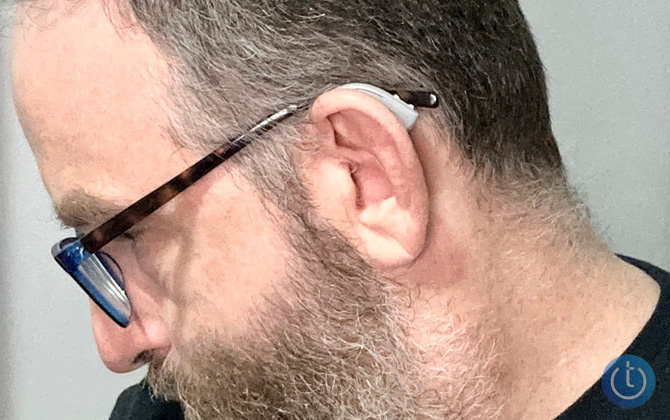
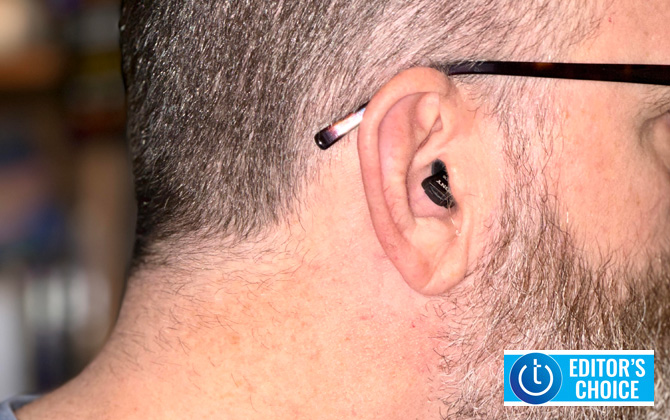
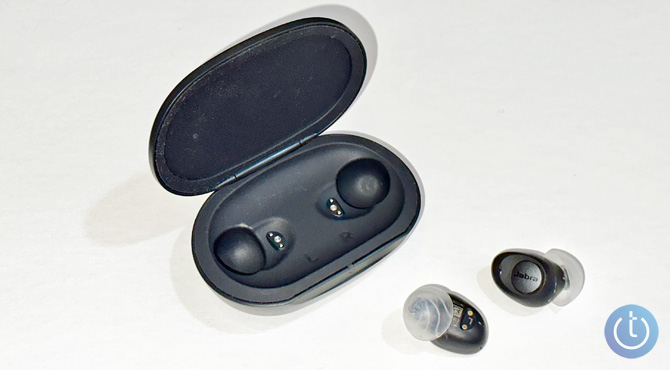
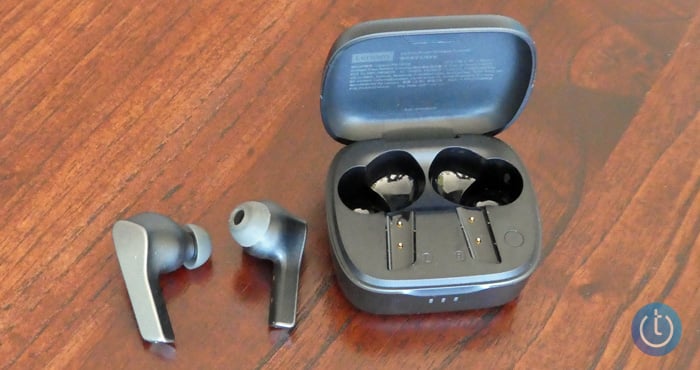
As noted, the All-Day Clear are traditional behind-the-ear hearing aids. A teardrop-shaped microphone/battery/control module sits behind each ear, the thin speaker wire hooks over your ear, and the “receiver in canal” (RIC) speaker tip sits inside the outer edge of your ear canal.
Included with the All-Day Clears are small, medium, and large silicone ear caps, eight wax guards, and a cleaning tool. While the larger ear tips better seal your canal for enhanced music listening, they also muffle your own voice when talking and magnify the sound of food chewing. I found the small ear tip a better all-around choice for more naturally sounding conversation at both ends.
I found the All-Day Clear light and comfortable for all-day wear, with the mic/battery module only jiggling occasionally with violent head shakes. But, like many RIC-style hearing aids, the All-Day Clear suffer a bit from microphonics – they slightly amplify the sound of the behind-the-ear nodule rubbing against your head or glasses temples, even when simply wiggling your ears. However, the All-Day Clear are virtually free of feedback squeal compared to all other similar models I’ve tested, a pleasant surprise.
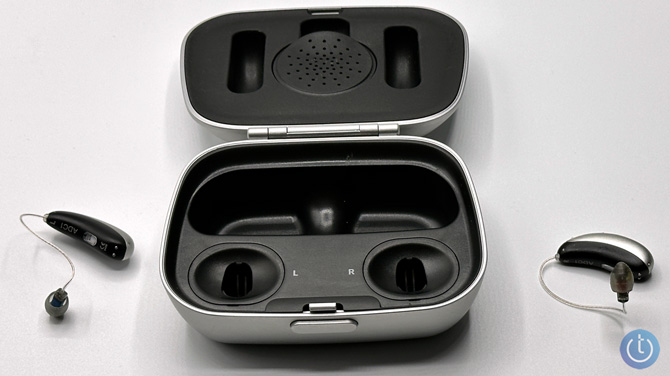
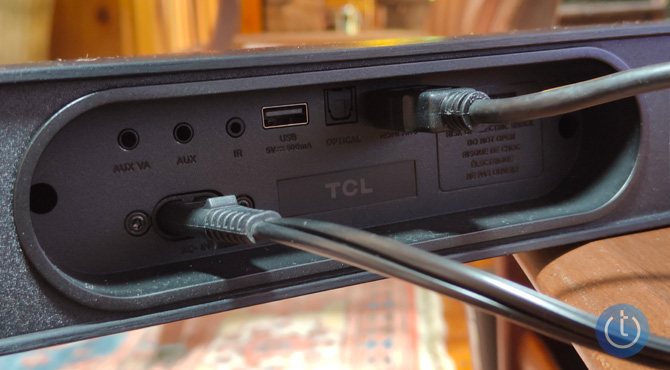
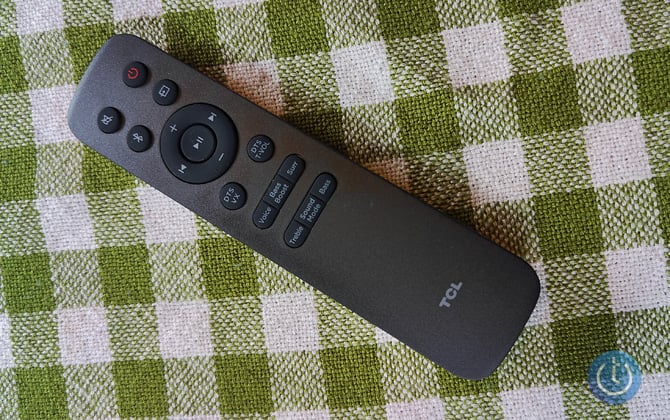
On the rear of each behind-the-ear nodule is a multi-function toggle that provides most of the most common controls you’d need without having to use your phone. You can answer/reject/end a phone call, switch between sound modes, and manually raise and lower the volume when your phone isn’t handy or you disconnect the Bluetooth connection. I often disconnected Bluetooth when I didn’t want to hear sounds from the phone, such as sounds from social media posts, website videos, or games. While, say, watching TV or if I wanted to use my phone’s speaker to share my audio. Disconnecting from Bluetooth does not impact the All-Day Clear sound amplification, and you can use the behind-the-ear module toggle to control their volume manually.
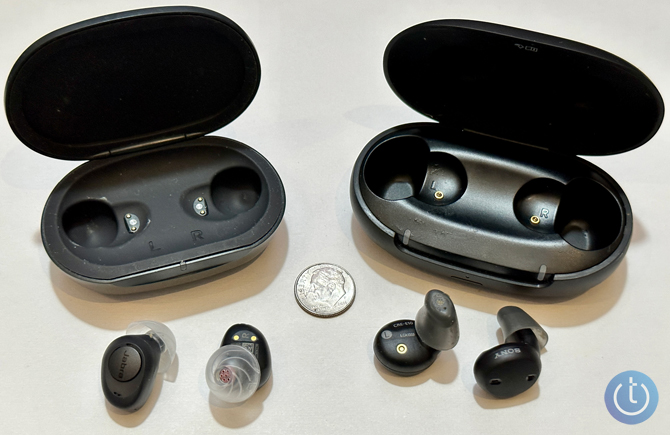
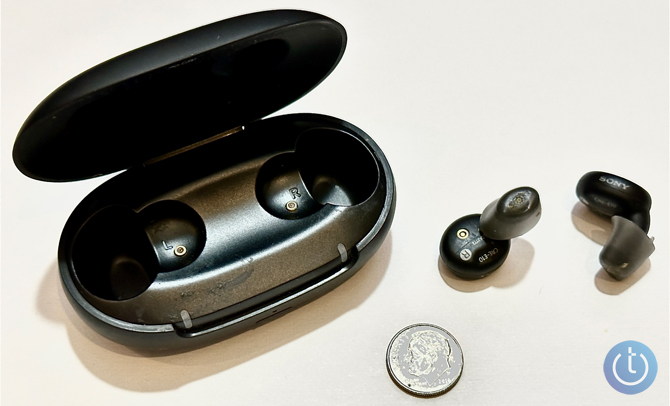
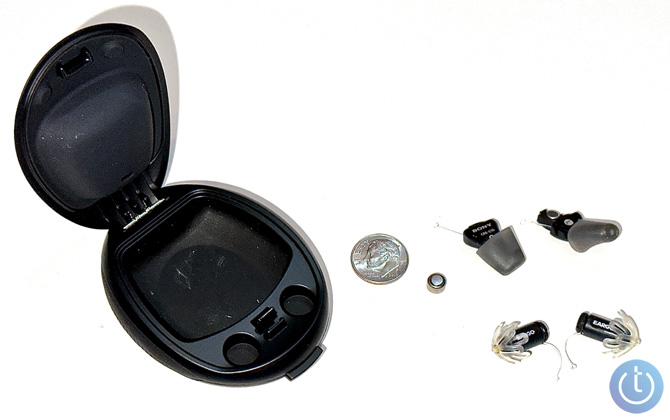
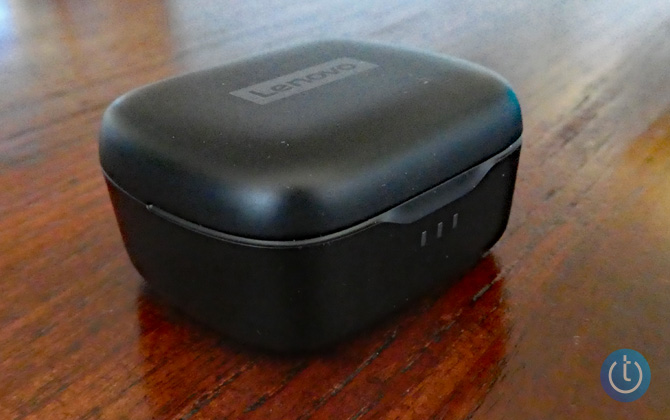
In perhaps Sennheiser’s most curious ergonomic and functional misstep, the All-Day Clear round-ish charging case is HUGE, nearly four inches wide, two inches thick, and three inches wide. I found you can only carry it in a bag – in a pants pocket, it will look like you’re carrying a tennis ball. Even more shockingly, the All-Day Clear charging case doesn’t incorporate a battery to recharge the All-Day Clears on the go. The All-Day Clear case only charges the buds via a mini-USB power connection (yes, its connecting jack isn’t even USB-C). Why the All-Day Clear charging case needs to be so large – it just feels hollow – while lacking an integrated battery baffles me.
The All-Day Clear buds are rated to run for 16 hours, which includes 2-3 hours of streaming music listening, thereby justifying their “all-day” label.
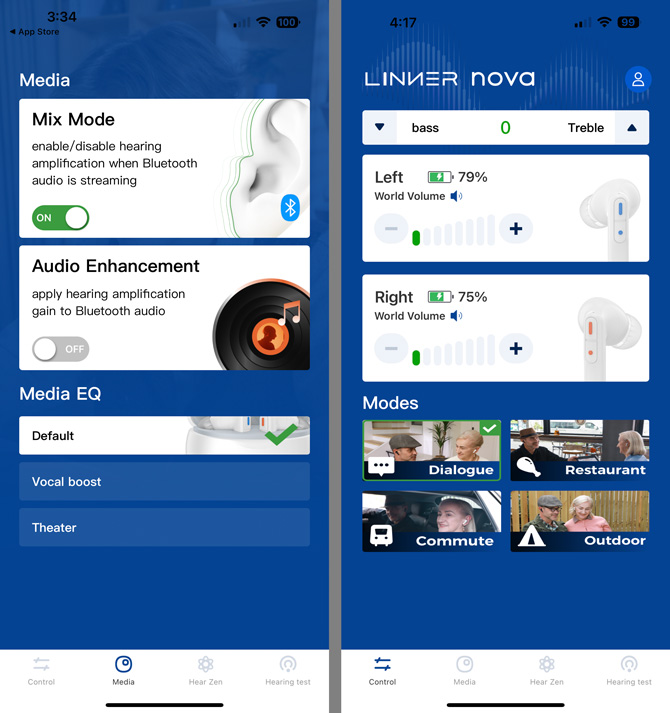
You can also buy a compatible but expensive TV Connector ($349.99) to feed TV sound directly to the All-Day Clear, but I didn’t get one to test. By comparison, the Linner Nova includes a TV sound connecting box.
Setup
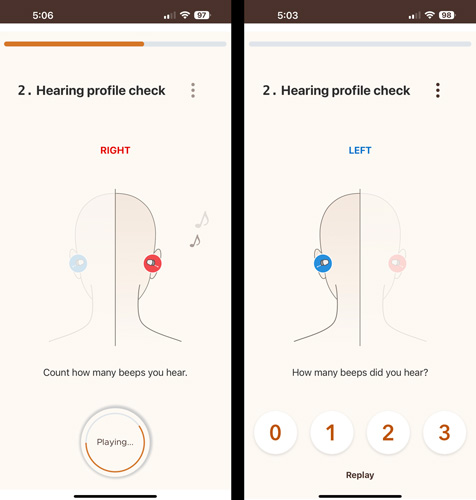
After creating an account, answering a lot of what I thought were unnecessary personal/demographic questions, agreeing to Sennheiser’s anonymous data collection, and agreeing (or not) to get notifications, you are asked whether you opted to buy the In-Clinic Care Package and have had your All-Day Clears programmed by an audiologist or other HCP. If you haven’t, you’ll take the Sennheiser All-Day Clear app “hearing test.”
All app-based, self-fitting OTC hearing aid tests I’ve taken take around 5-10 minutes. These self-administered app hearing tests evaluate each ear separately by playing and asking when you can hear a series of different tones played at various frequencies and volume levels. These test results are then programmed into the hearing aids to tailor their aural corrective performance to your needs. This self-test approximates, if not duplicates, the tests and tuning you’d get from an audiologist or HCP.
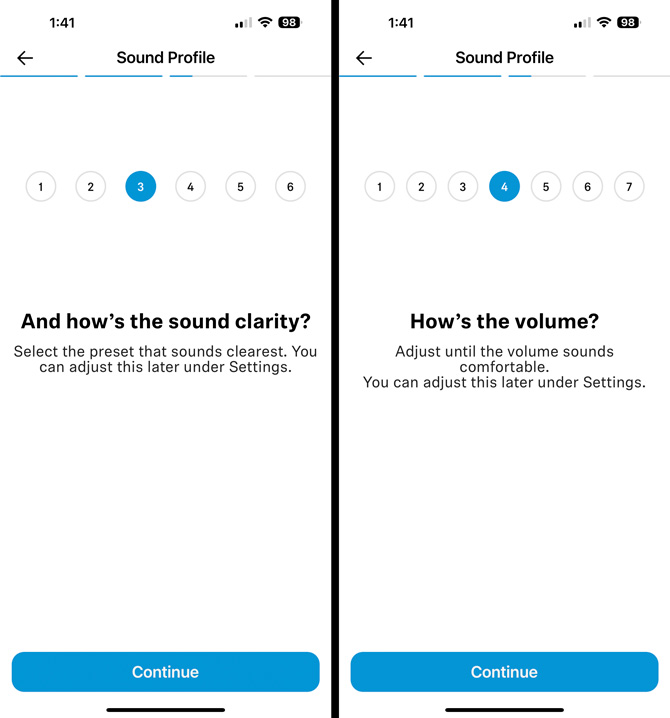
The Sennheiser/Sonova All-Day Clear app hearing test, however, comprises just three total screens for both ears simultaneously – a 1-7 ranking of volume, a 1-6 ranking of “sound clarity,” and a thumbs-up thumbs-down ranking of balance. The Nuheara IQbuds2 Max and Apple AirPods Pro, which are standard Bluetooth earbuds that can double as hearing aids, offer far more customized settings for ambient hearing preferences. Considering the insufficiency of this hearing test, I can’t imagine why and how the FDA classified the All-Day Clear as “self-fitting.”
Performance
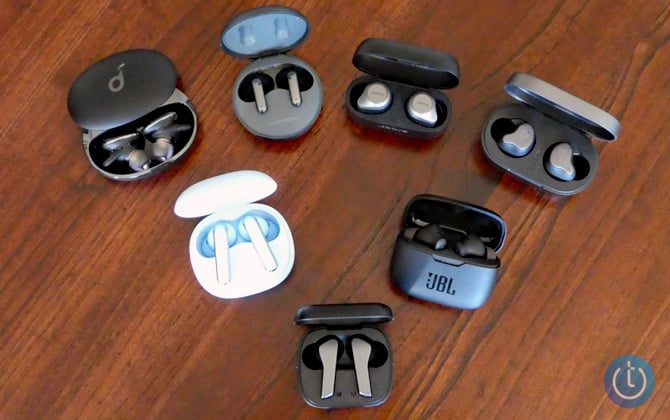
Since there are no authorized HCPs anywhere near me, I could not get the HCP test and tuning that might make the All-Day Clear worth their premium price. So, I can only judge the All-Day Clear performance without the benefit of tuning, comparing them to other RIC-style OTC hearing aids, self-fitting or not.
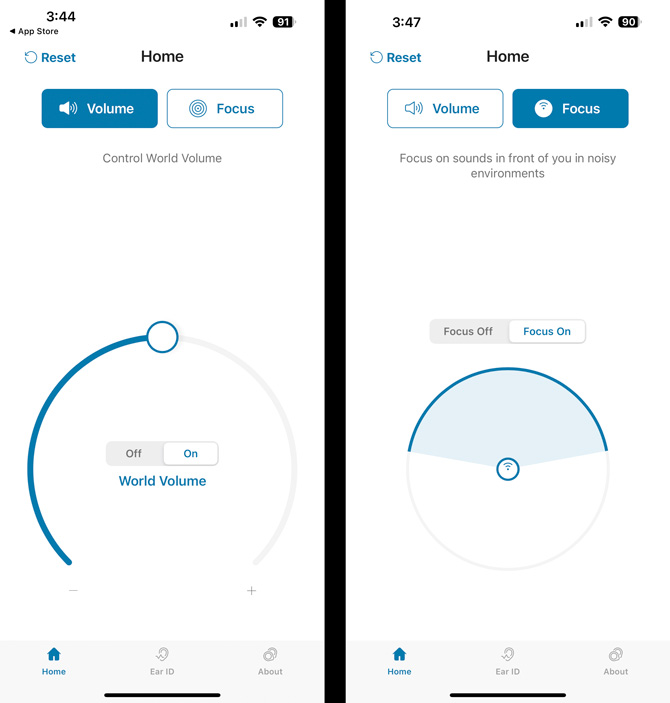
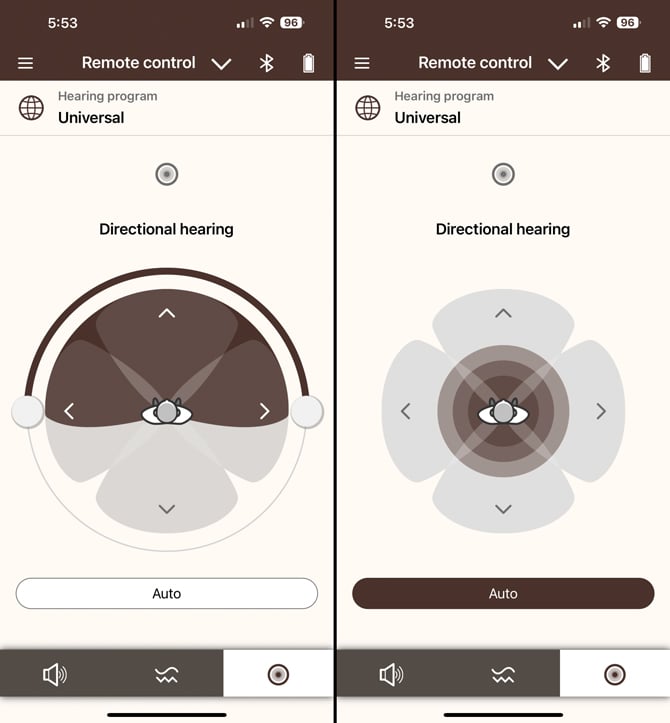
Without fine-tuning, the All-Day Clear indiscriminately amplifies sounds. This includes unwanted ambient noise, like creaking floors, keyboard key clacking, running water, etc. The Sennheiser app doesn’t include a voice-enhanced setting, noise reduction, or microphone directional focus. Many other OTC hearing aids, self-fitting or not, and non-hearing aid Bluetooth buds such as the Apple AirPods Pro and Nuheara IQbuds2 Max use these tools to help compensate for the lack of a personalized test and tuning and improve overall performance. Their inclusion would have aided the All-Day Clear’s non-tuned performance.
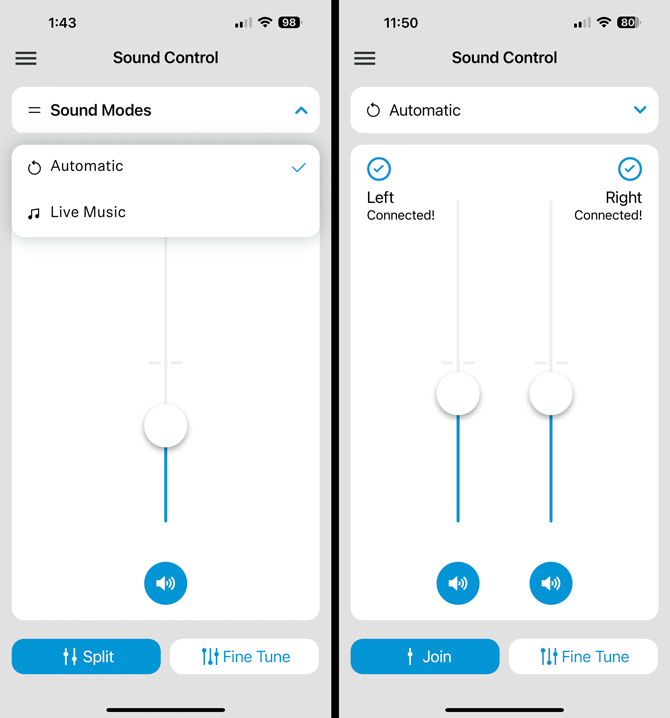
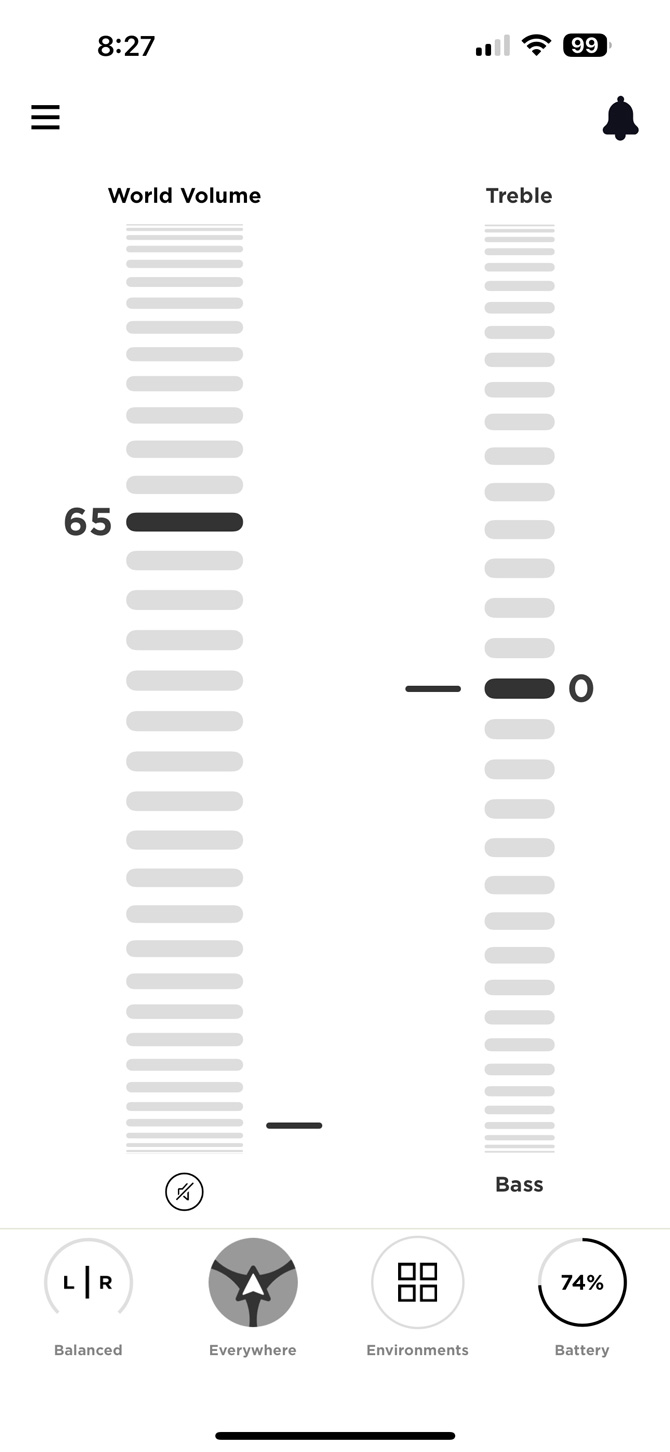
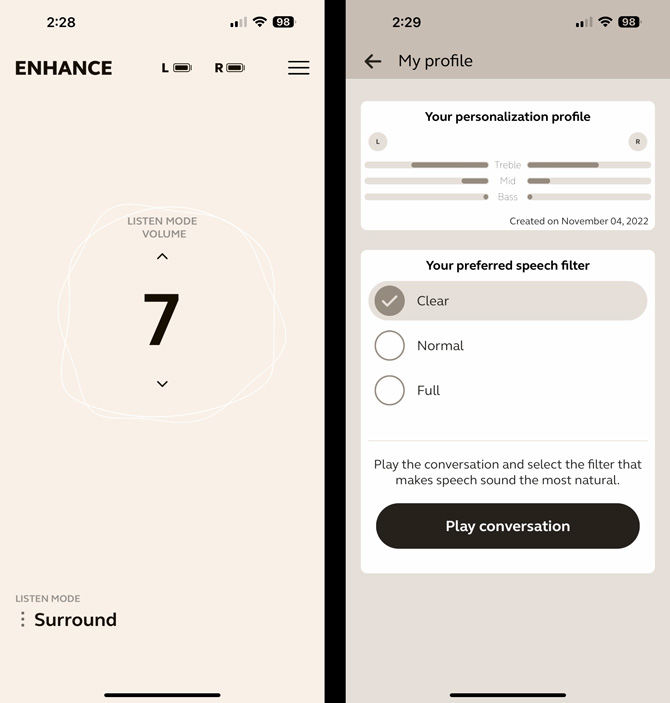
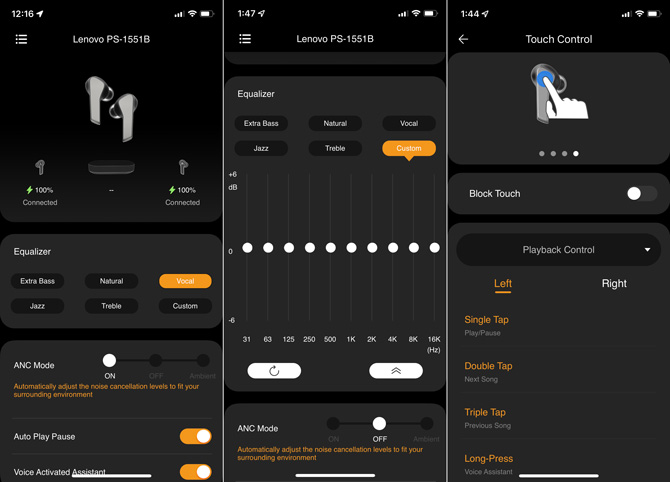
The Sennheiser app does include a slide-adjustable three-band equalizer (bass, mid, treble) and the always curious wind-noise reduction toggle – why would anyone NOT want wind reduction? You also get three sound modes: automatic, Live Music, and Bluetooth Streaming; the latter automatically triggers when you start streaming music.
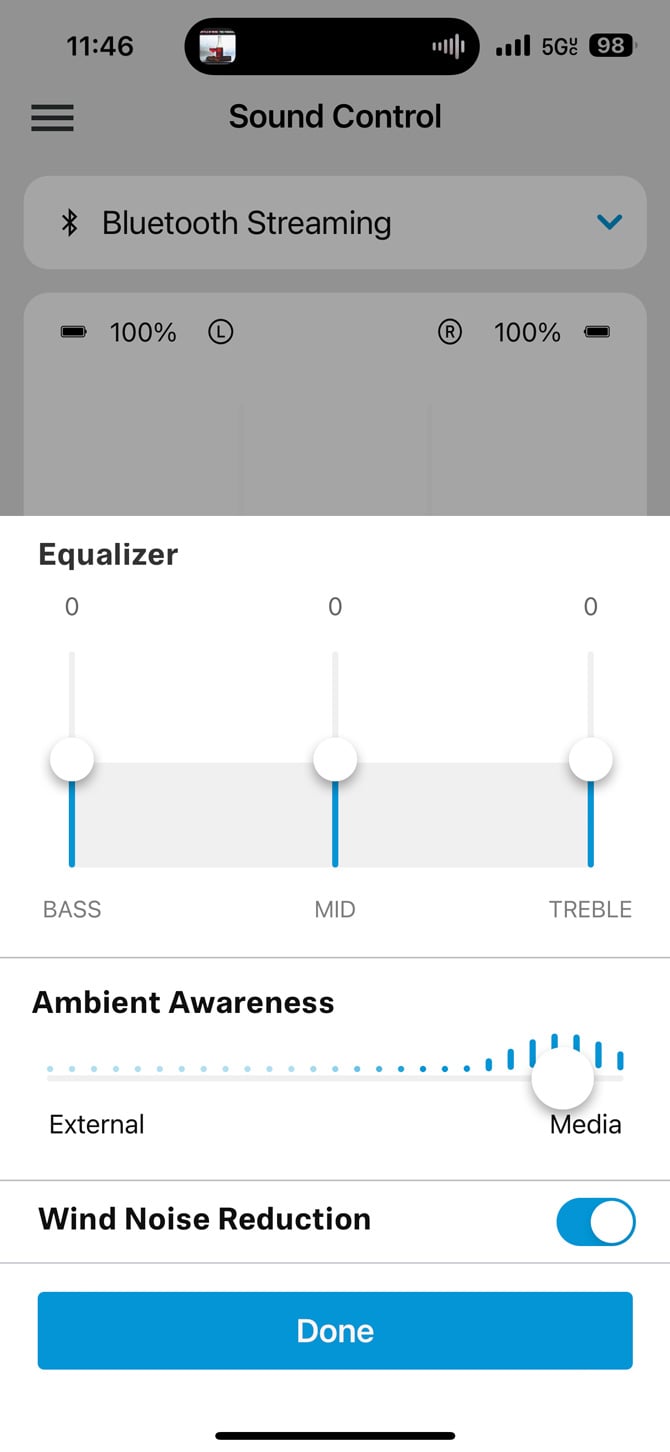
You can adjust the volume for each ear or combine the left-right slide controls into a single control in the app. In the app, volume can be adjusted up from 0 to 5, which provides plenty of clear, distortion-free amplification, or down from 0 to -5. I was initially confused by the negative volume options; it took me a second to realize that 0 is the baseline volume likely based on your “hearing test” volume preference.
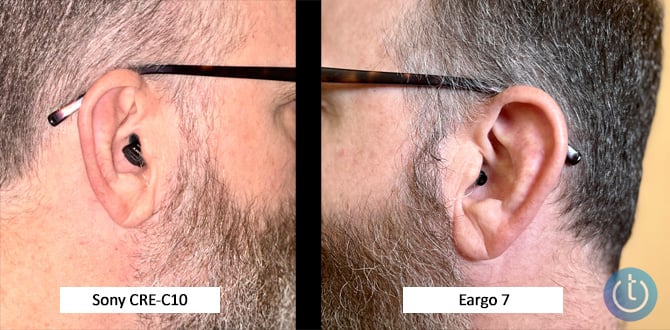
While the All-Day Clear sounded clean and clear, they did not quite achieve the slightly more natural audio from other self-fitting hearing-only OTC models I’ve tested, such as any of the Eargos or the Sony CRE-C10. For instance, it almost seemed as if the All-Day Clear amplified the air flowing around my ears, and amplified sound occasionally warbled or wavered between left and right, as if I were moving my head in relation to a static sound source.
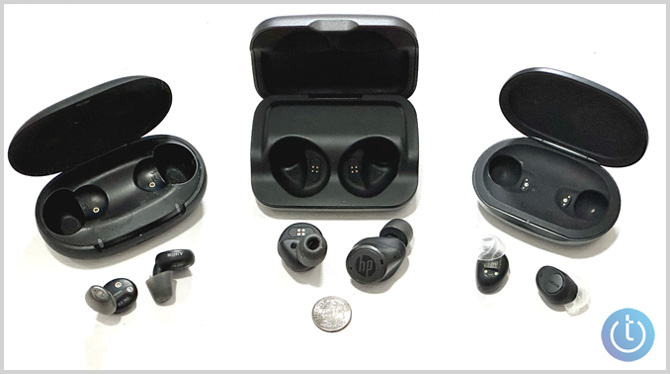
What might make the All-Day Clear worth their premium price is their Bluetooth music reproduction. No, the All-Day Clear do not produce anywhere near the audiophile experience you’d get from Sennheiser’s mainstream Bluetooth buds or headphones. But I was frankly surprised at the quality of the streaming sound, even if the sound was a bit thin and tinny compared to the larger, Bluetooth bud-style OTC hearing aids such as the HP Hearing Pro or the Sony CRE-E10.
For phone calls, my co-conversationalists reported I sounded “strange,” with a warbly voice, which is not unexpected. RIC-styled hearing aids place their microphones on the module behind your ear, which can block the sounds coming out of your mouth, as opposed to the microphones on in-ear buds, which are far closer to your mouth. I could hear perfectly well at my end, with no volume adjustment needed.
The bottom line
Sennheiser essentially forces customers to visit an HCP to get the optimal performance from the All-Day Clear when all other self-fitting OTC hearing aid vendors make their wares all-inclusive as intended by the legislation that created the product category. This is a shame because I can only imagine how much more natural and cleaner the All-Day Clear would sound with proper personalized tuning.
As it stands, the All-Day Clear ($1,399) offer the best hearing-first multi-function compromise, providing above-average performance for hearing assistance, Bluetooth music, and hands-free calling, though they are not the best in any of these functions. For single-function hearing aids, I recommend the Eargo 7 ($2,655), while the Sony CRE-E10 ($1,299) are my top choice for Bluetooth music listening-first hearing assistance.
I can only hope that Sennheiser has a change of heart and adds a more extensive hearing test and personalized bud programming capability – and a more pocket-friendly recharging case – to its next-gen All-Day Clear to eliminate the need and added expense of an HCP visit.


[Image credit: Stewart Wolpin/Techlicious]
Stewart Wolpin has been writing about consumer electronics for more than 35 years, including news, reviews, analysis and history, and has attended and covered nearly 50 Consumer Electronic Shows and around a dozen IFA shows in Berlin. For the Consumer Technology Association (CTA), he is an elector for and writes the official biographies of the annual CT Hall of Fame inductees, and is the keeper of the industry’s official history.
]]>


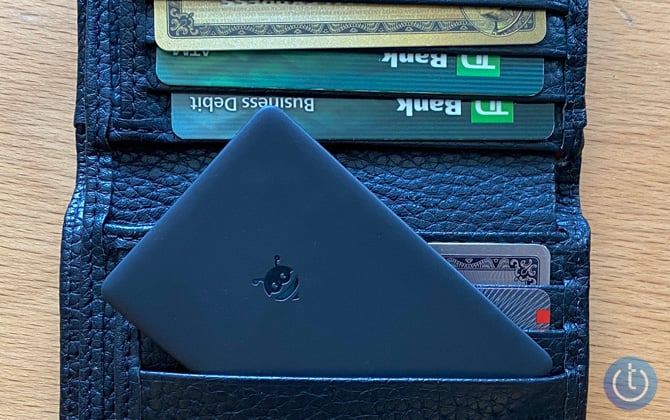
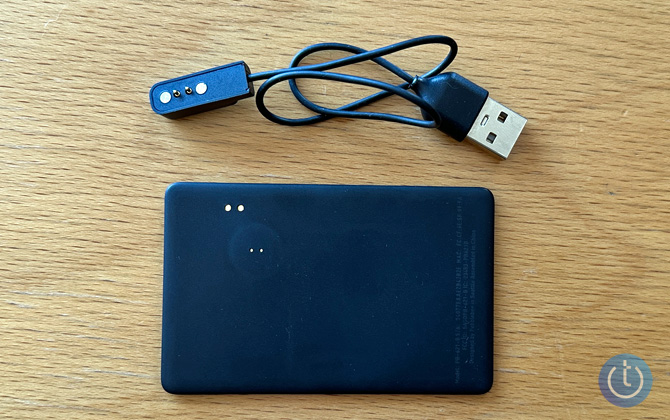
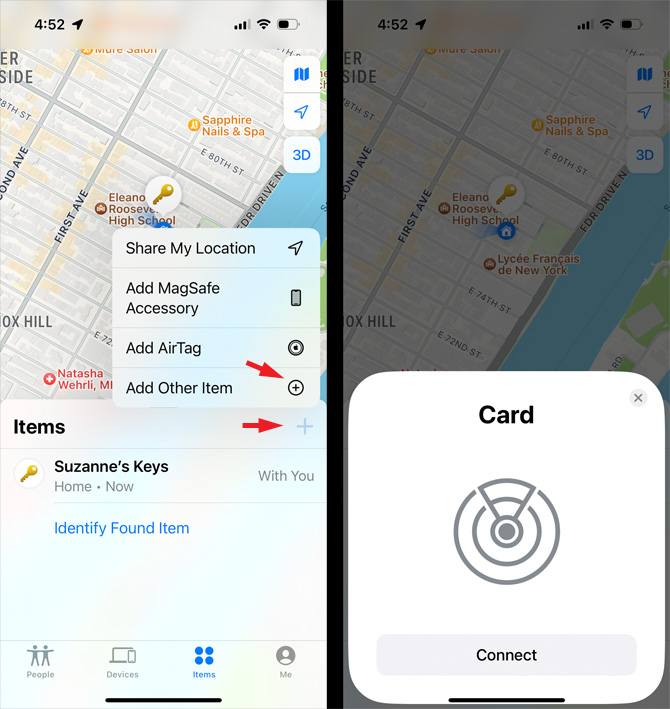
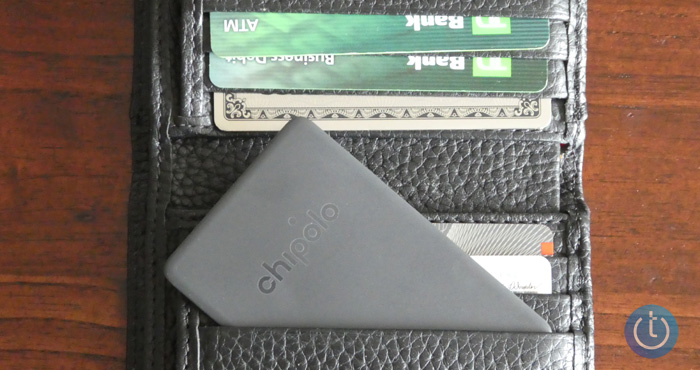
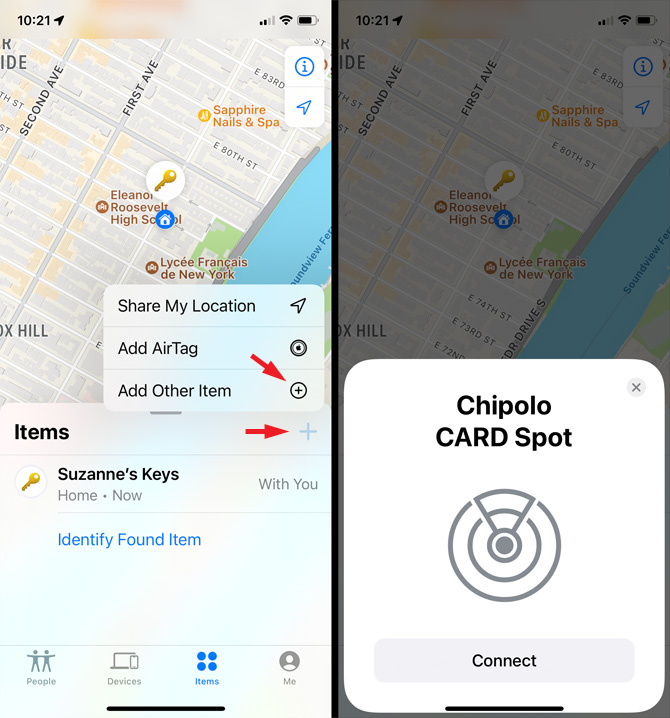
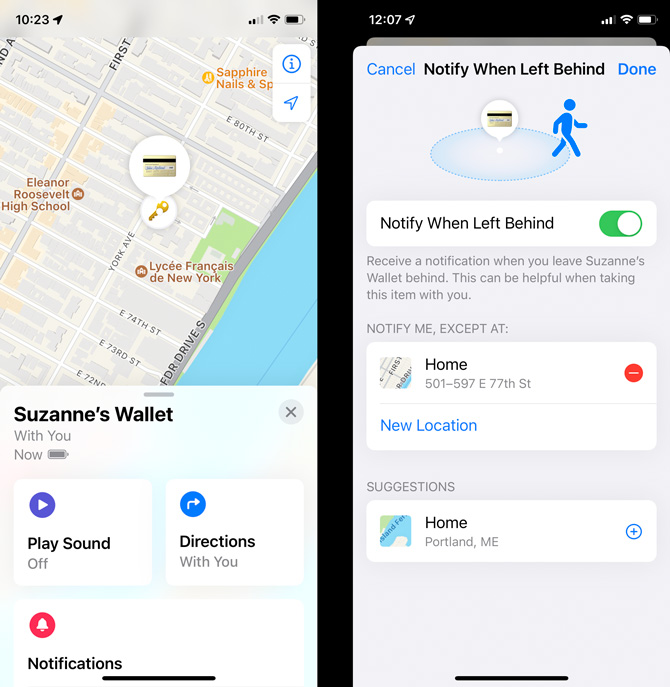
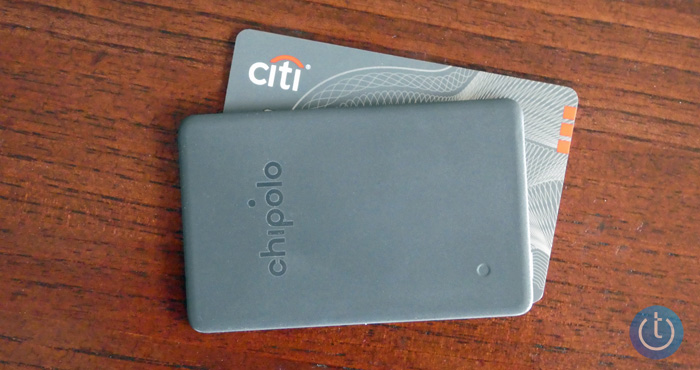
 There are many wallet trackers you can use with your iPhone. However, the
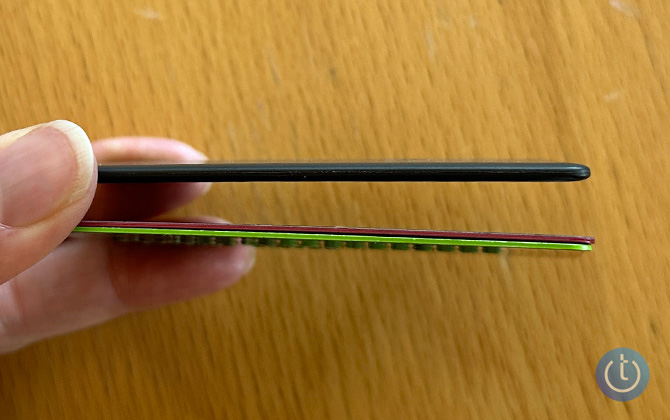


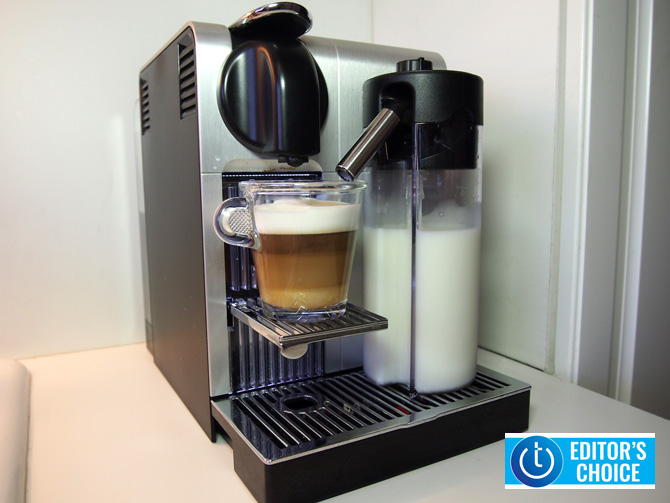
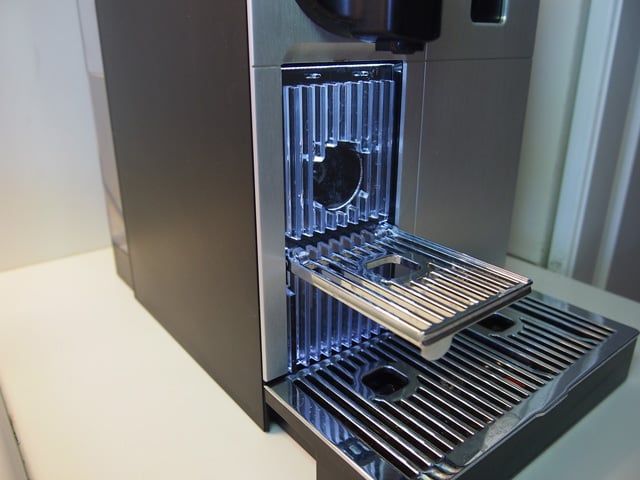
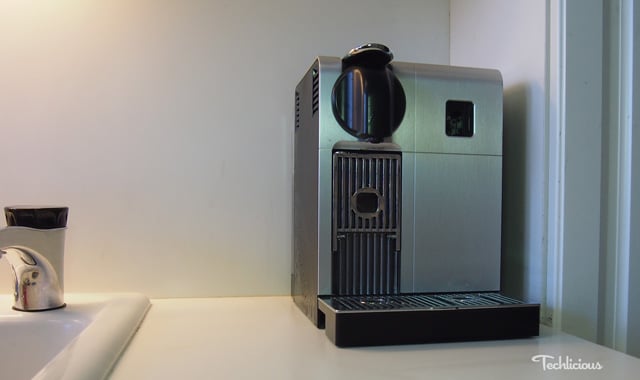
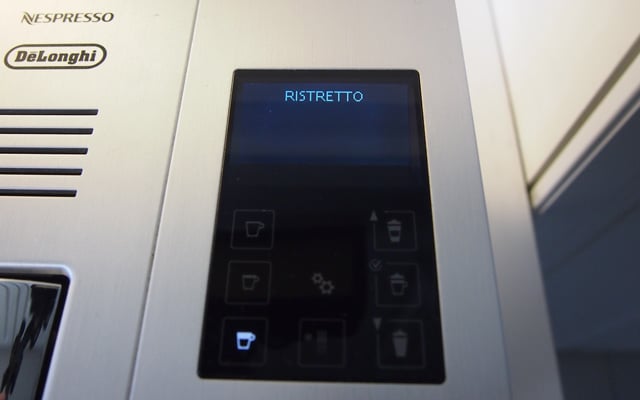
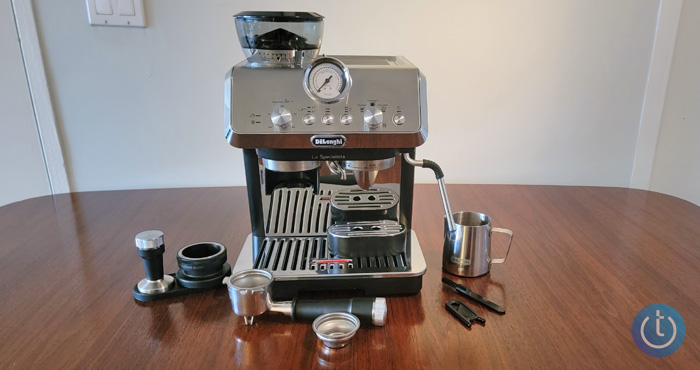
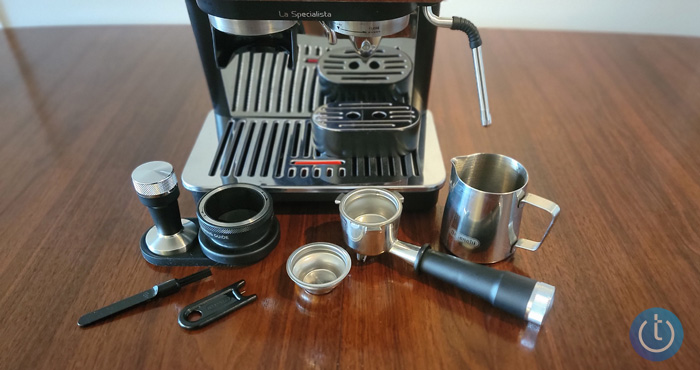
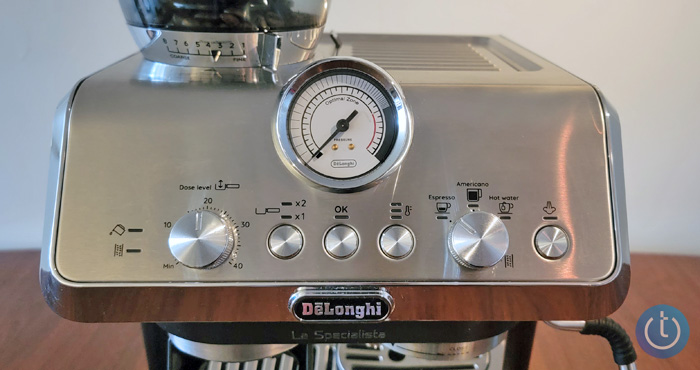
 If you're ready to take the step up from a pod-based espresso machine but don't want to plop down the big bucks for a full superautomatic machine, the DeLonghi La Specialista Arte fills that niche. The La Specialista Arte has an integrated grinder so that you can choose your beans. And you controls everything from bean grind and dosing to tamping pressure and water temperature. In short, for $699.95, the La Specialista Arte is a very flexible machine that delivers excellent results, whether you're a beginner or an espresso aficionado. However, if you're looking for one-button simplicity, this probably isn't the machine for you.


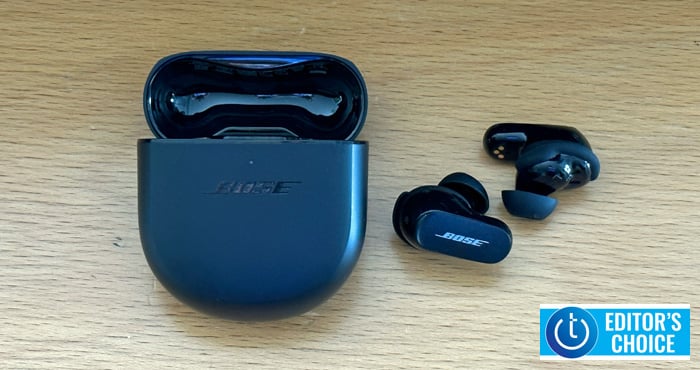
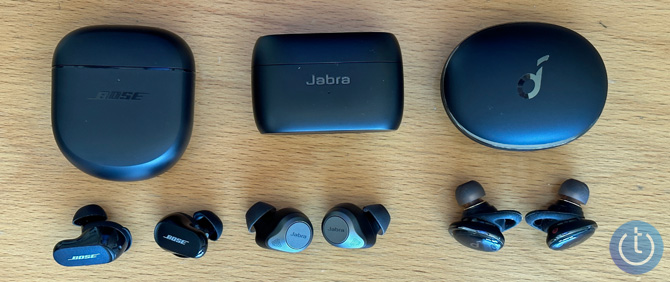
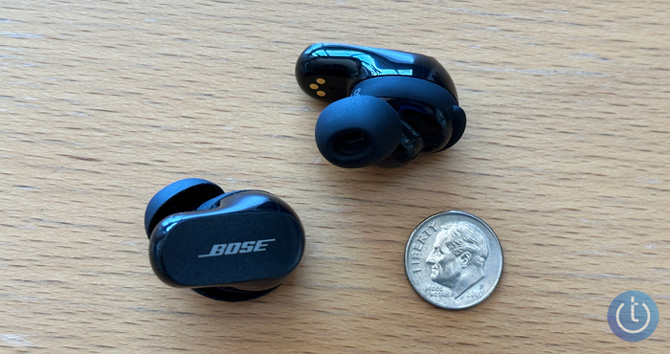
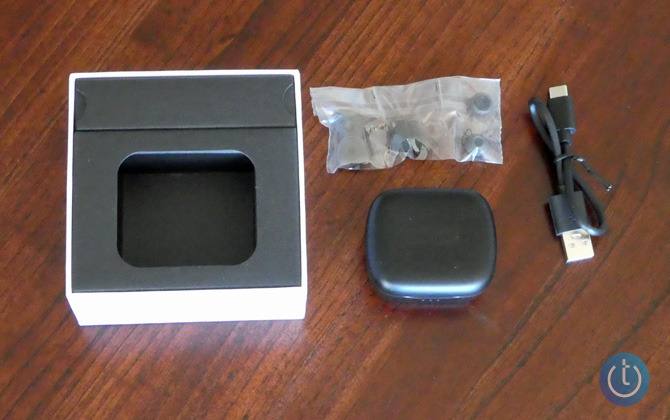
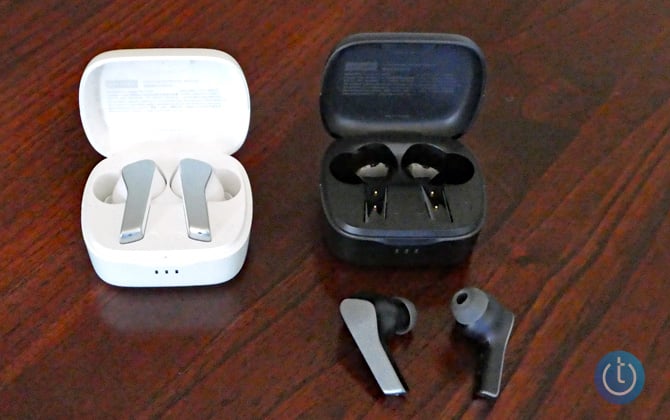
 Noise-canceling headphones promise to shut out the world around you. And over the years, the best noise-canceling headphones have gotten to a point where they work very well. However, the Bose QuietComfort Earbuds II ($299.00) are on a whole new level, blowing away the competition with the company's new CustomTune technology. Having tested noise-canceling headphones for more than a decade, I was impressed by how much of the world the buds can block out.


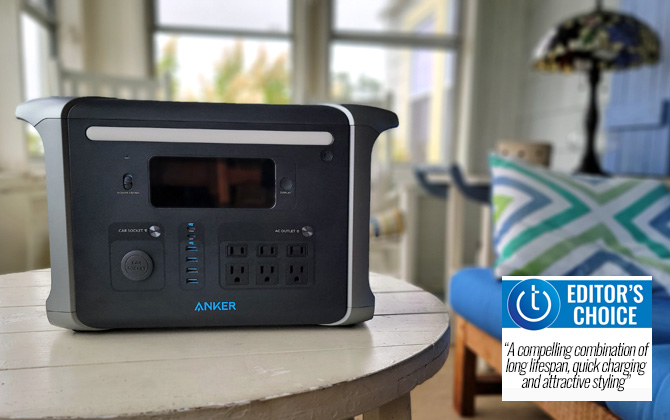
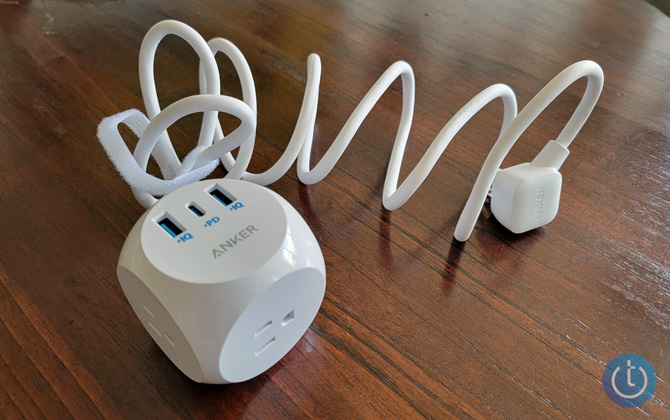
 If you’re looking for a power strip for a dorm room or travel, the Anker 524 makes an excellent choice. It offers a small and cleverly designed form factor, a pretty full feature set (including 30W USB-C charging), and will run you less than $30. In fact, after researching the dozens of similar options on the market, I ultimately settled on the Anker 524 as the model to send off with my son to college this fall.


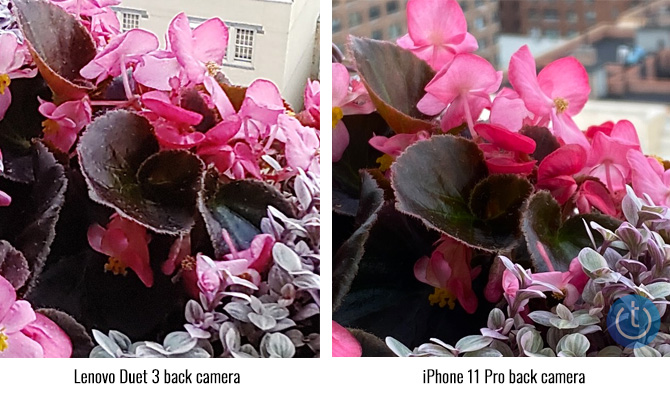
 Two years ago, Lenovo introduced the 10.1-inch Chromebook IdeaPad Duet, a 2-in-1 Chromebook that received rave reviews for its versatility and low price of $279 (including the keyboard case). We picked it as one of the best affordable laptops and tablets for back-to-school in 2020. This year, Lenovo launched the next generation, the 10.9-inch Chromebook IdeaPad Duet 3 ($369.99 at Lenovo). It promises to provide an even better user experience than the first-generation Duet with a larger display, a second USB-C port, and a bump in processing power.


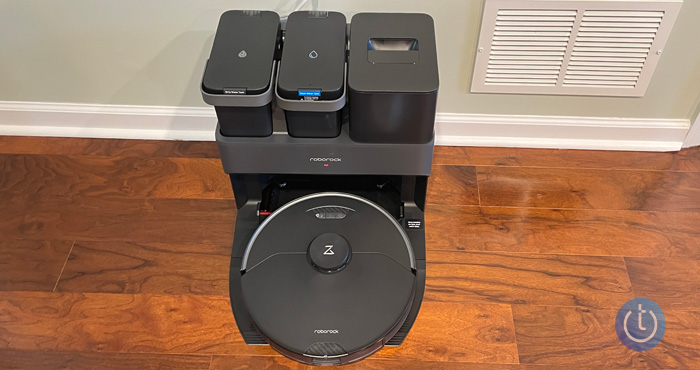
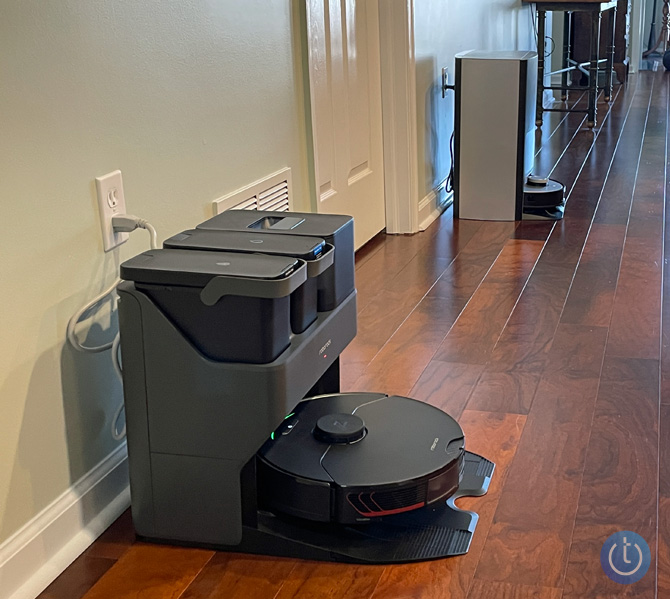
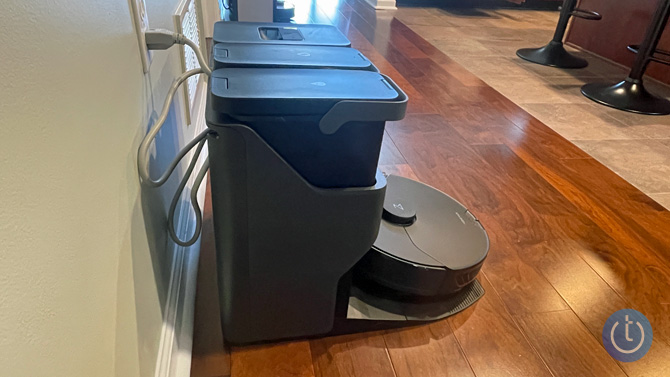
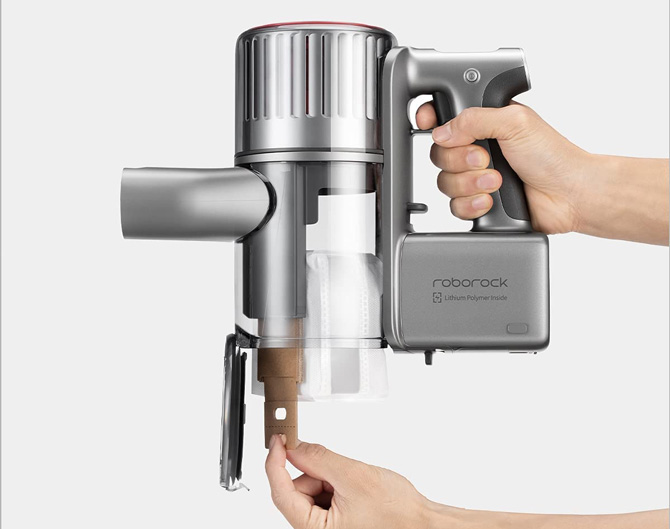
 The promise of a robotic floor cleaner is that it will take care of the cleaning for you. Unfortunately, the reality has been far from it, especially for mopvacs, which wash and vacuum your floors. The problem was the mop head, which you had to manually clean between runs. This year, we're finally seeing fully-autonomous mopvacs, namely the Techlicious Top Picks CES 2022 winner Roborock S7 MaxV Ultra. This new mopvac empties and cleans itself and can run for up to two months without user intervention.
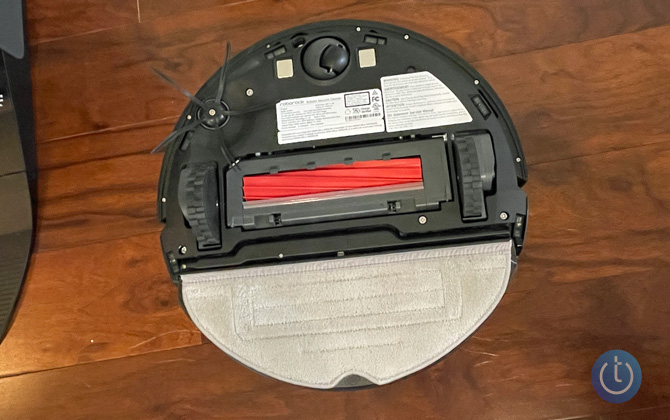
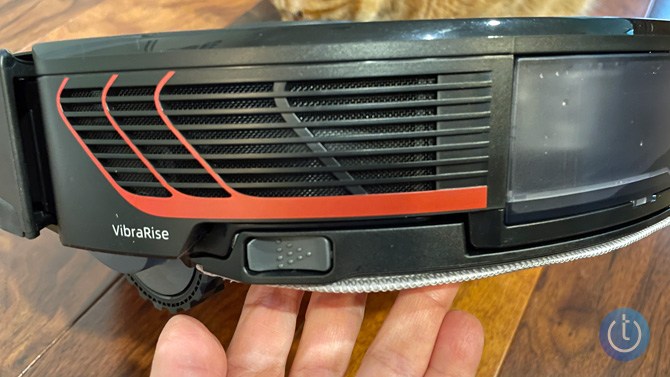
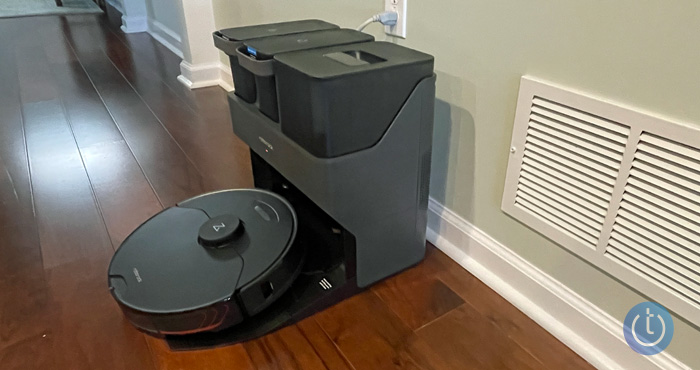

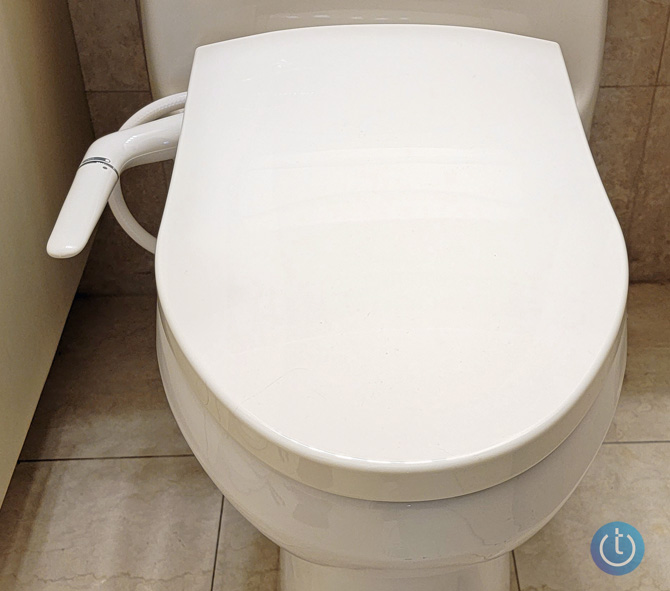
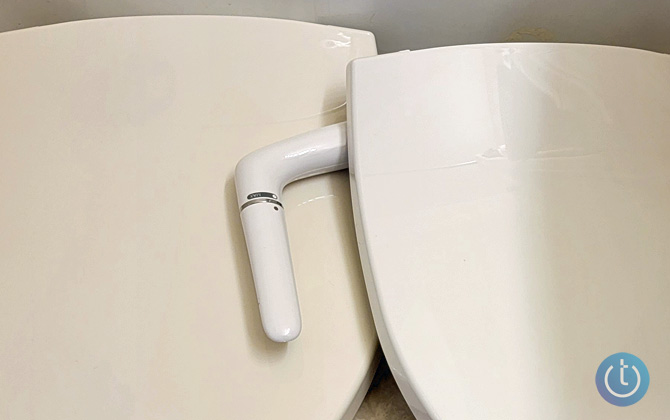
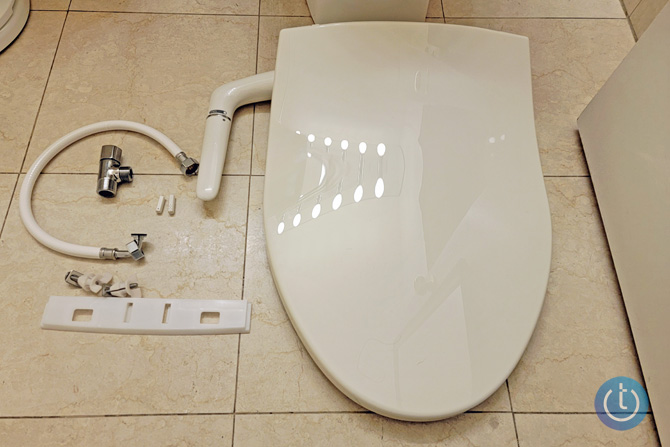
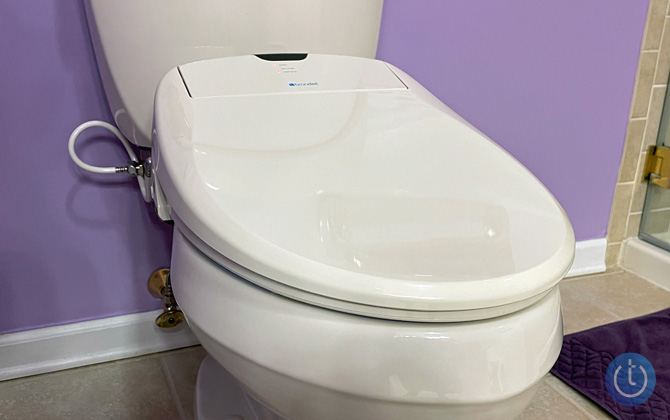
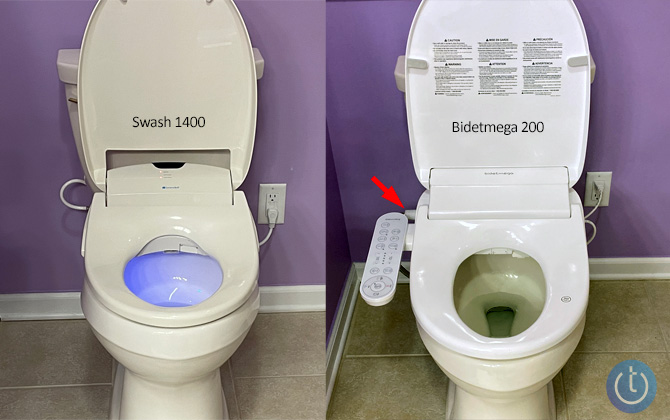
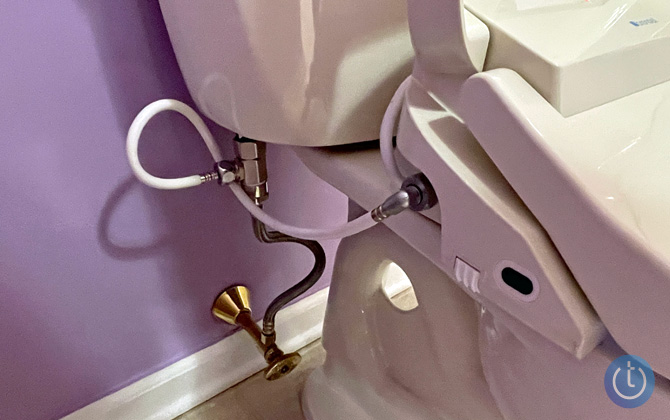
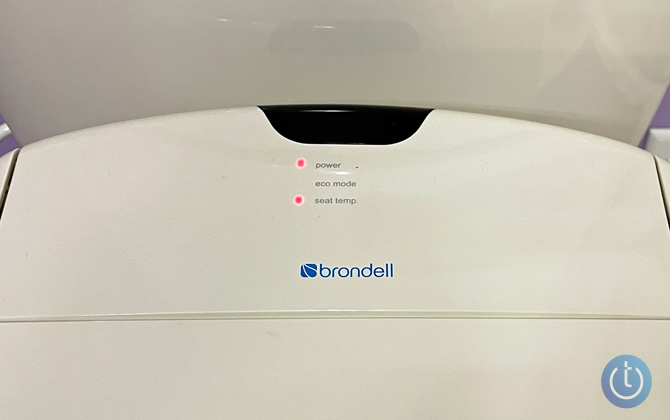
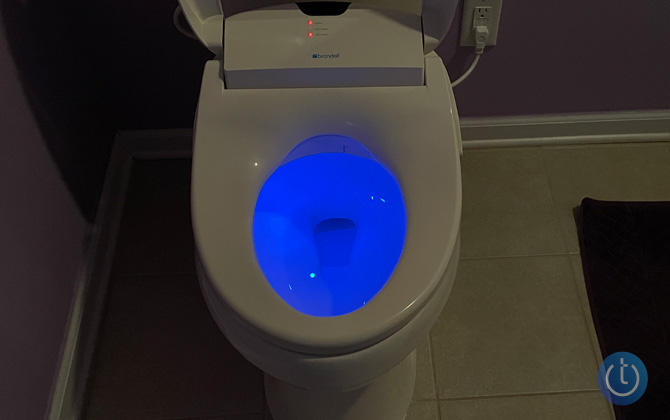
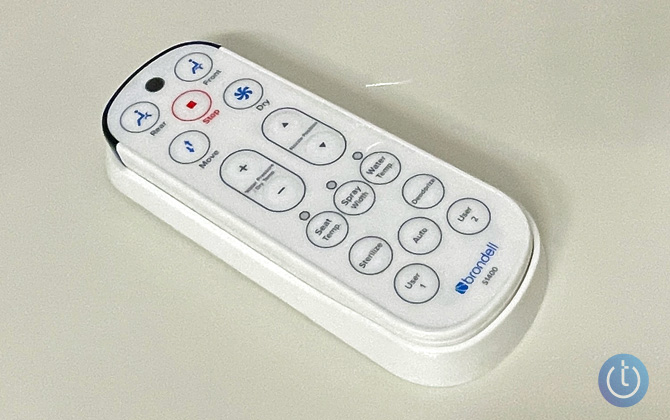
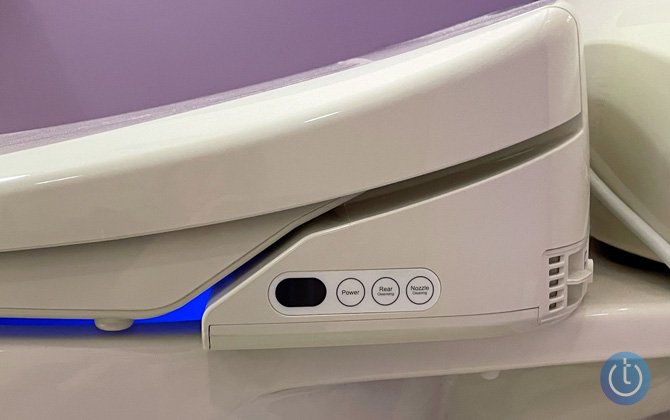
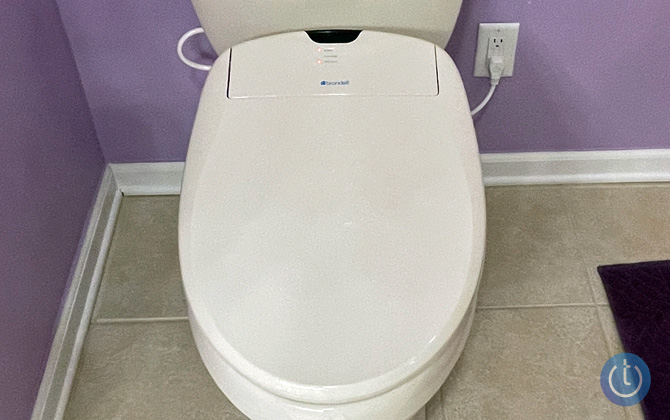
 If you’ve had the opportunity to try a bidet at a friend’s house or while traveling overseas, you already know the significant cleaning benefits they offer over toilet paper. Yet, most Americans don’t own one, either because of the perceived cost, concerns about installation, or simply the hesitation to try something different on one of your most personal of parts.

 If there’s one thing everyone dreads about spring, it’s the arrival of hordes of mosquitos and the infuriating itching that comes from their bites. And no matter how much DEET or how many citronella candles we employ, some of those buggers always get through. Once bitten, the proteins in the mosquitos’ saliva trigger an immune response, causing the red, itchy bumps we all know so well.


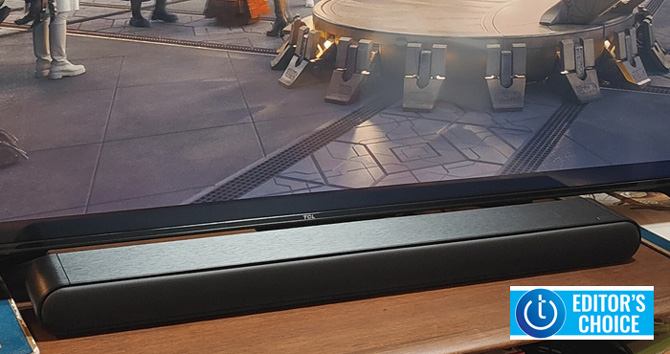
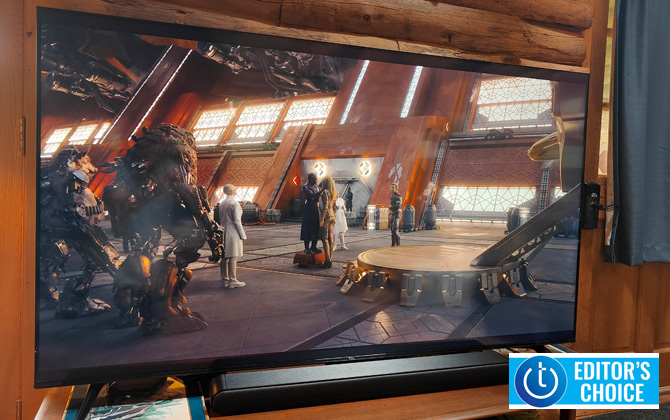
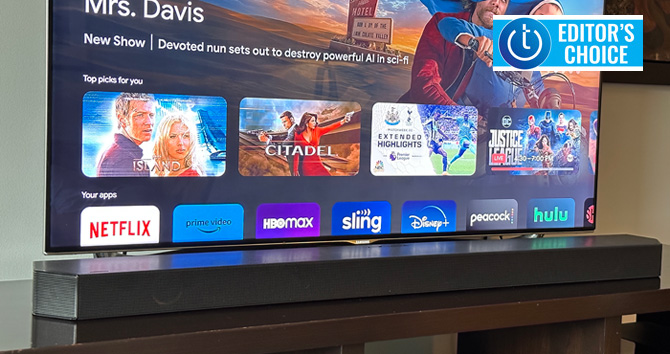
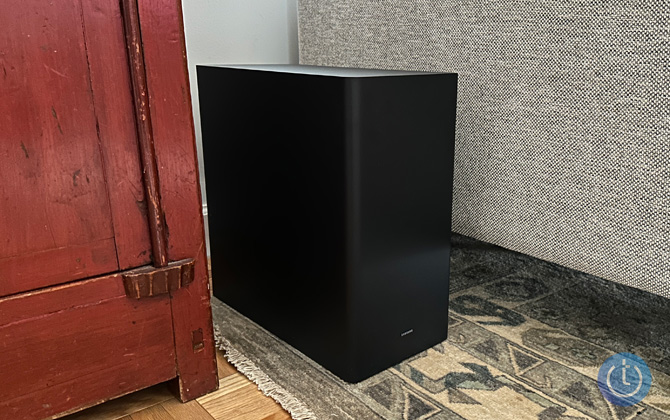
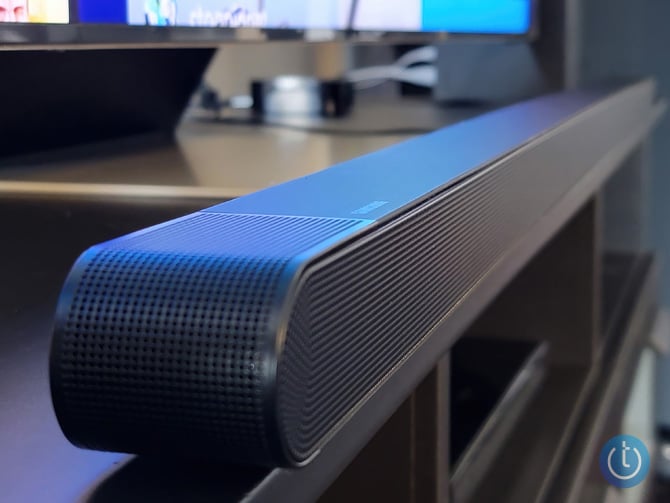
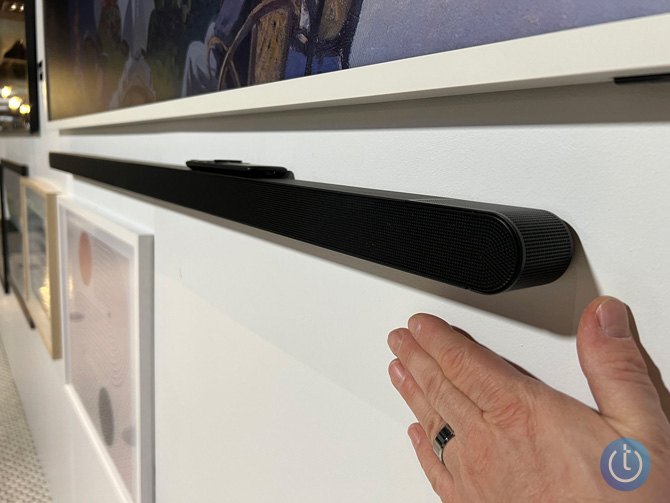
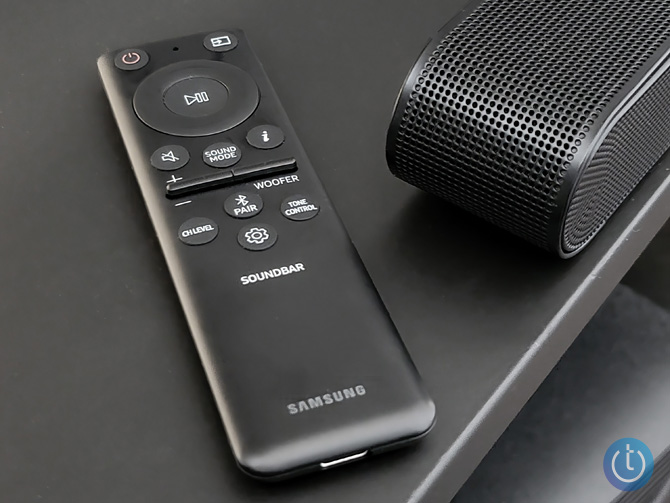
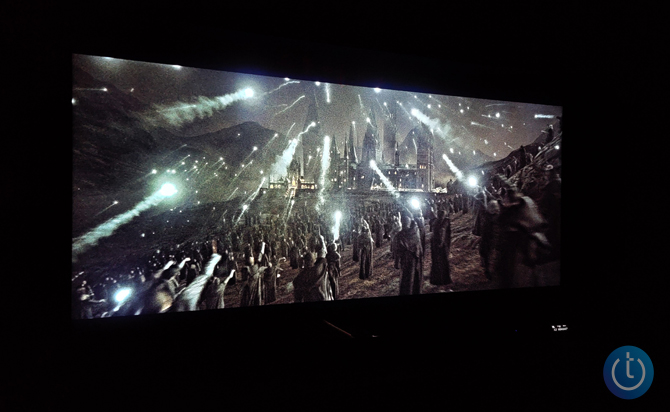
 Soundbars are the go-to solution for easily adding better audio to a TV. The all-in-one design plus slender, low-profile form factor is easy on the eyes, easy to install, and compared to other surround-sound solutions, typically easy on the wallet.


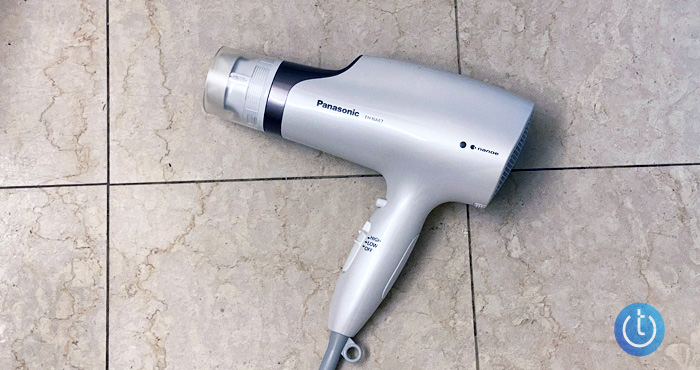
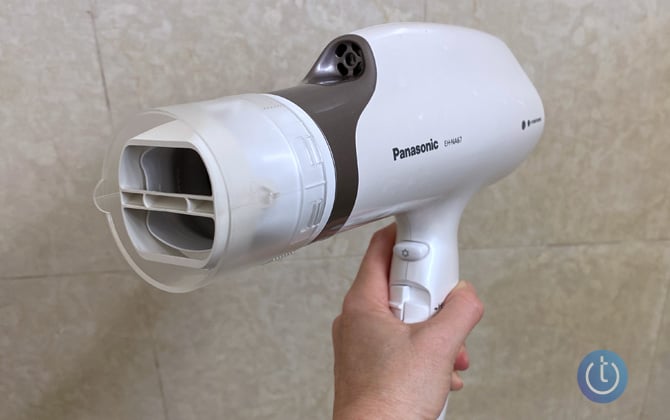
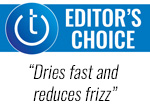 Last year, we gave Panasonic’s Nanoe EH-NA67-W hair dryer ($150) a Techlicious Top Picks of CES 2021 award for its innovative oscillating quick-dry nozzle and Nanoe technology, which creates ultrafine water particles to keep your hair hydrated. But how well does the technology work in real life? For the last four months, I’ve been testing the Panasonic Nanoe to find out.
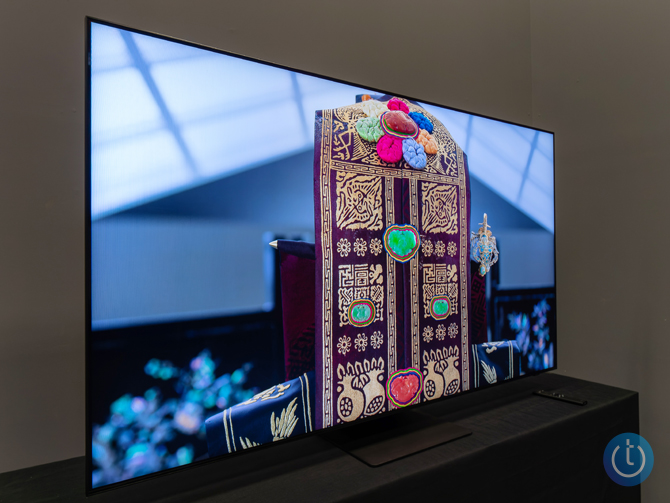
 What happens if you take one of the best premium 4K TVs, the Samsung QN90A Neo QLED, and upgrade the video processing from 12 bits to 14 bits? You get the 2022 Samsung QN90B Neo QLED, a TV that is a dead ringer for its predecessor on the outside but offers noticeable improvements in picture processing that translate to visibly better picture quality. Taken together with all of its features and my experience testing TVs for the last nine years, I consider the QN90A the best all-round 4K TV on the market.

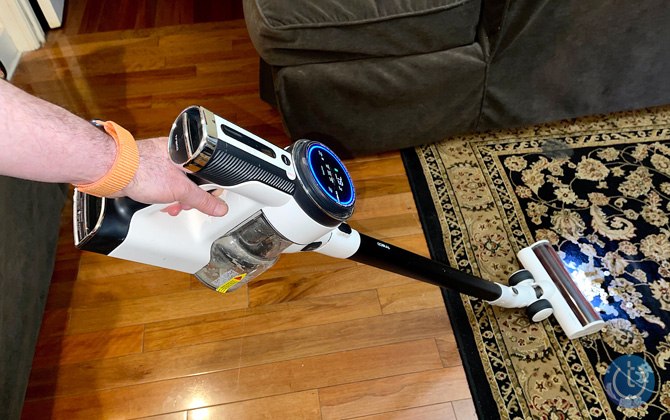


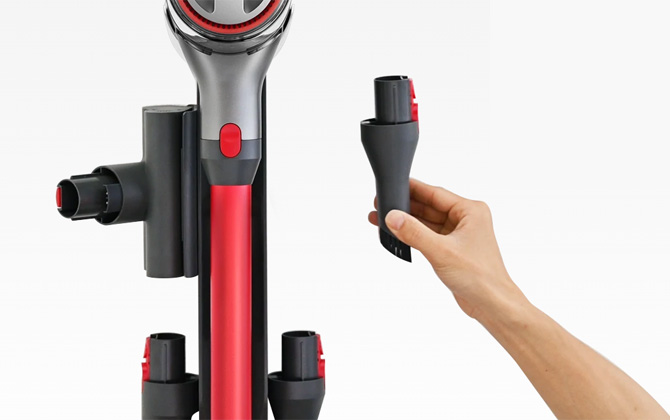


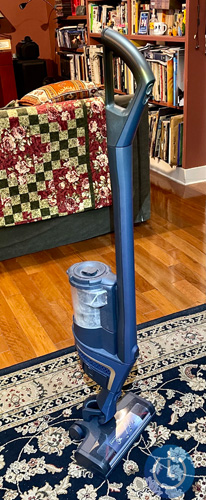
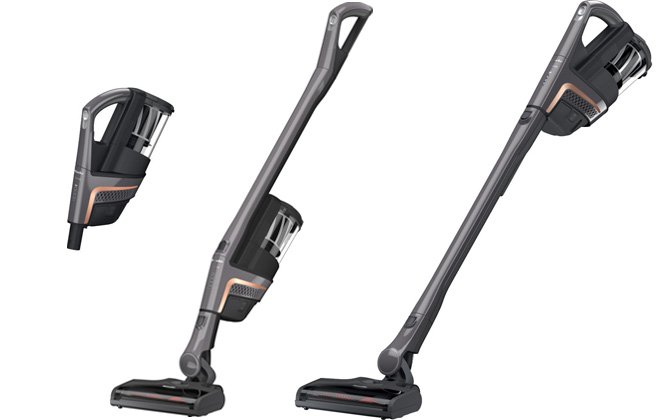
 Vacuuming is a stop-and-go activity. You start, then you stop to pick up something off the floor. You need to move a chair. Someone calls. Your vacuuming is constantly being interrupted. But when you turn off its power to deal with the interruption, what do you do with a stick vac? For most stick vacs, you need to lean it against a wall or furniture. But Miele has completely redesigned its Triflex HX1 stick vac so it can stand up on its own in the middle of the floor.